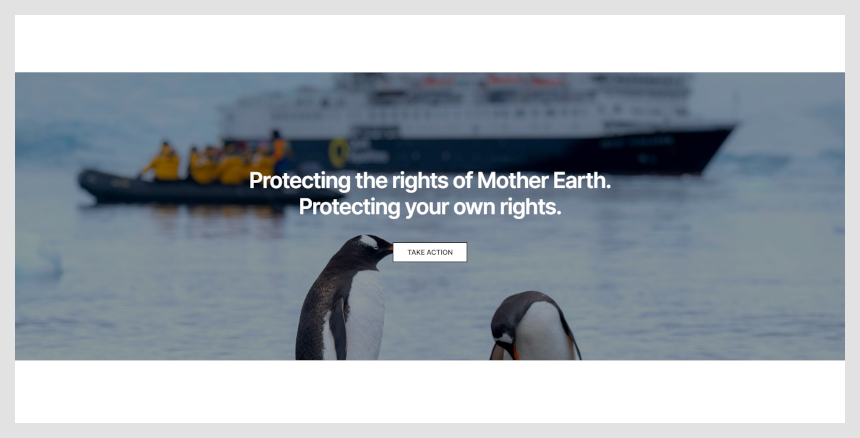
Canvi is a simple charity WordPress theme that combines Gutenberg patterns and minimalism. Learn how you can get the most out of the theme with the Canvi WordPress theme documentation.
Canvi WordPress theme documentation, step 1: Theme specifications
- Recommended logo size: 280x60px.
- Single page content area width: 1420px.
- Single post content width: 860px.
Canvi WordPress theme documentation, step 2: Theme installation
The theme can be installed through the WordPress Admin panel.
- Log in to the WordPress admin panel.
- Go to Appearance -> Themes.
- Click on the Add New button, at the top of the screen.
- In the Add Themes screen, click on Upload Theme.
- Click on Choose theme, and then browse for theme file on your computer.
- Click on Install Now to start the installation.
- After the installation is done, click on Activate theme.
A detailed video of theme installation is available here.
After activating the theme, you will be prompted to install the required plugins. Required plugins in the Canvi WordPress theme documentation are:
Jetpack plugin setup
Jetpack plugin is a required plugin. After installing the plugin, you will need to connect it with your site. When you click the Set up Jetpack button, you will need to log in to your WordPress.com account, or you’ll have to create a free Jetpack account. The official article that explains how to set up the Jetpack plugin is available here.
Canvi WordPress theme documentation, step 3: Theme features – explained
Canvi theme is using Gutenberg blocks for creating layouts. Aside from using the default block and the Jetpack blocks, the theme is relying on a set of built-in blocks, which are organized into five categories:
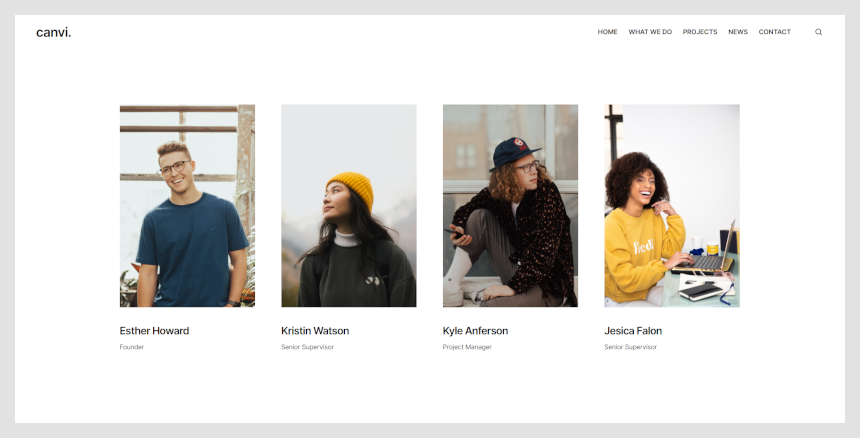
Canvi Team Pattern
Canvi Team patterns are used to present team members or people behind the specific works.

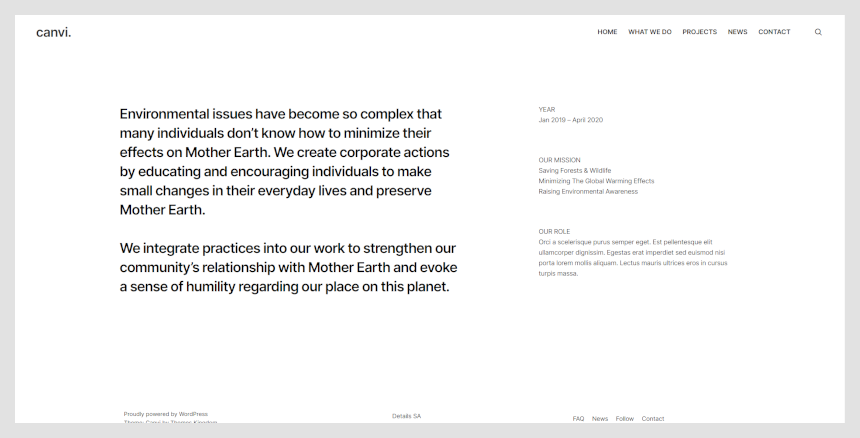
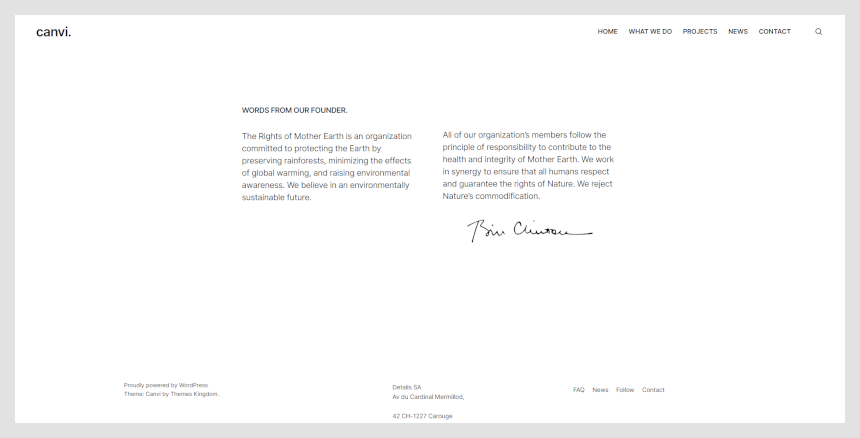
Canvi About
The About pattern can be used to present single person information or information about your team members. It can also be used to display any information that requires adding large images.
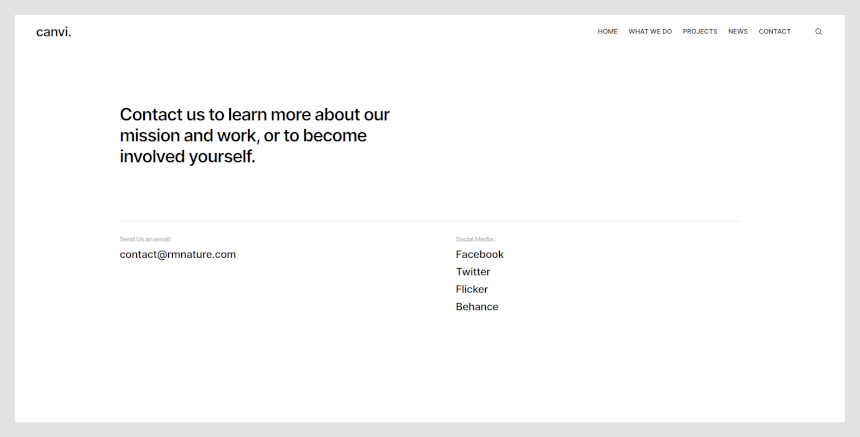
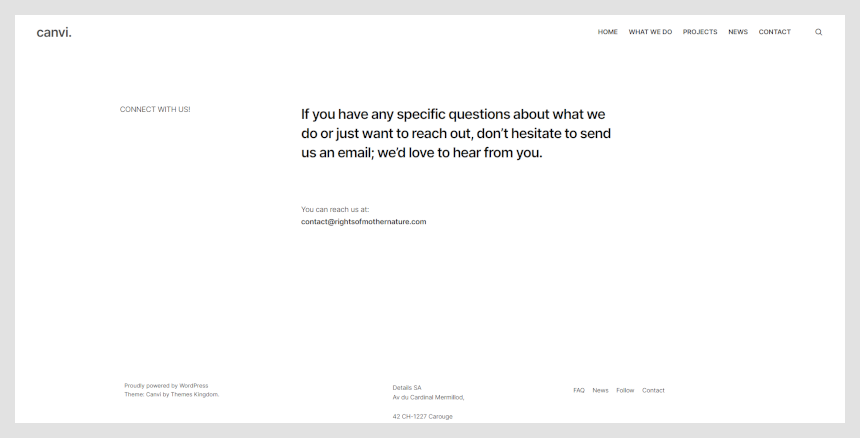
Canvi Contact
The Contact pattern is a simple block used to display contact information – email, social links, and such. Three different styles of a Contact pattern are available.
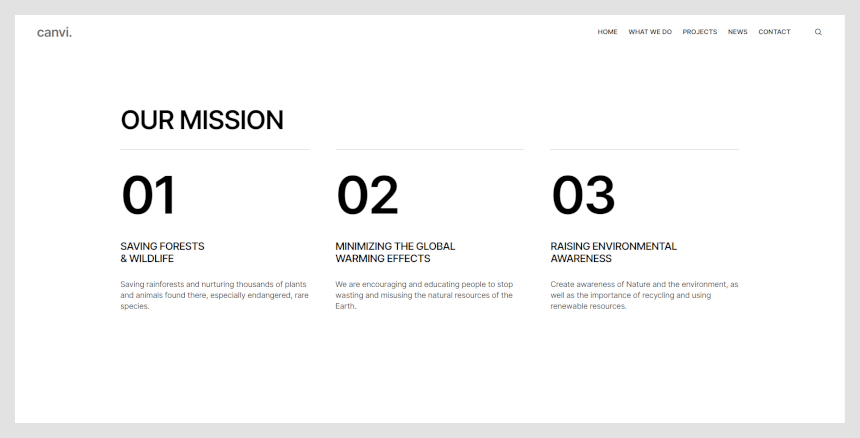
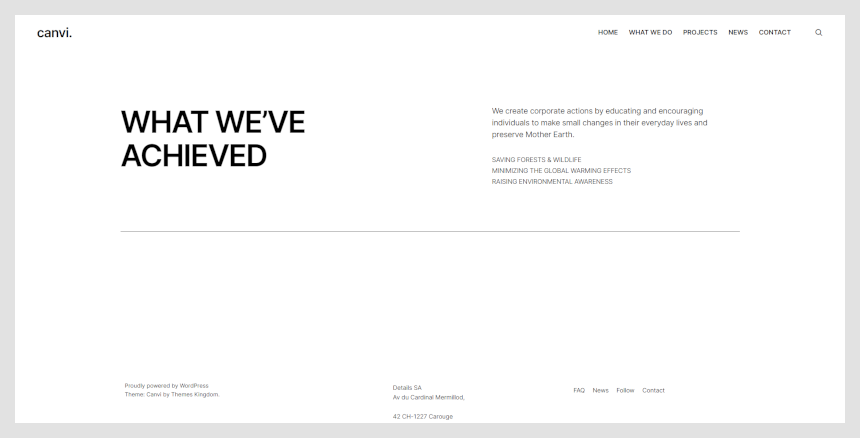
Canvi Project
Canvi Project pattern is a theme-specific pattern. It’s an outstanding block text, which you can use to present a project or some process. There are three variations of this pattern.
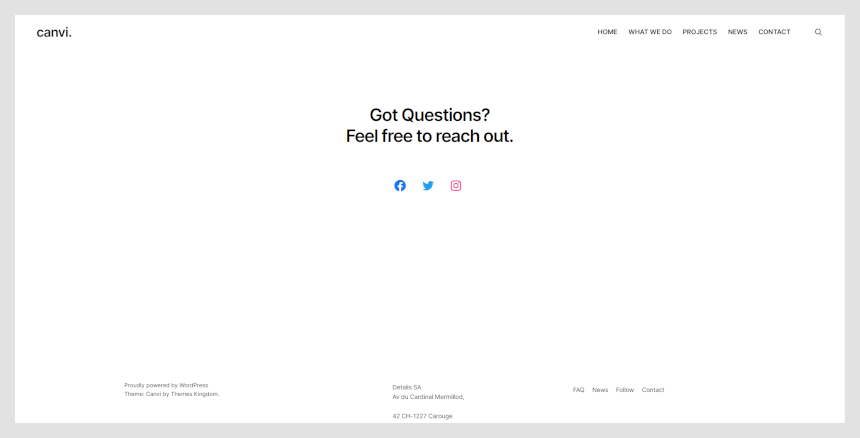
Canvi Call to Action
This block is useful when you wish to create an outstanding section, which needs to catch the site visitors’ attention. Both text color and text background color can be customized. Three variations of the call to action pattern are available.
Canvi WordPress theme documentation, step 4: The Customizer options

The Customizer in the Canvi WordPress theme documentation is a great WordPress feature that allows you to customize the theme and set theme options. Theme specific settings:
Site Identity

Site Identity allows you to set your Site Title, Tagline, and Icon.
The Site Title is the name of your site, and it’s displayed in the header, where the logo is displayed.
The Tagline is a short description or your motto, and it’s displayed just below the title. This setting is the same as in Settings -> General in the WordPress admin panel.
- Logo: Upload logo for your site. The logo should be in a PNG or JPEG/JPG format. Recommended logo size is 280x60px.
- Site Title: The name of your site.
- Tagline: Site punchline.
- Site Icon: The Site Icon is used as a browser and app icon for your site. Icons must be square and at least 512px wide and tall.
Menus
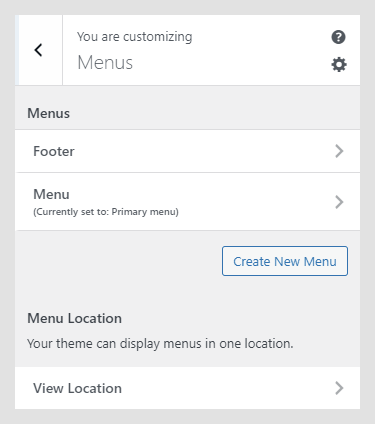 This option allows you to manage created menus quickly. You can select which created menu will be displayed as a Primary Menu or Footer Menu. If you need to manage actual menu items, you can do that in Appearance -> Menu.
Widgets
The Widgets section in the Canvi WordPress theme documentation allows you to manage widgets in widget areas quickly. This option allows you the same possibility as the Widgets option in the WordPress admin panel.
Homepage Settings
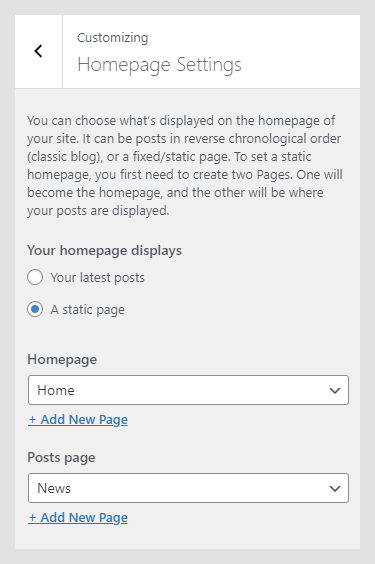 In this setting, you can change theme reading settings. The theme can be set either to display the latest posts on the homepage or to display a static homepage page. Theme reading settings can be also managed in Settings -> Reading.
Color Settings
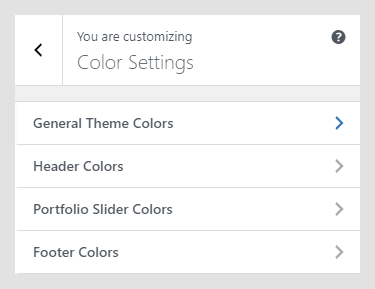 In Color Settings, you can control colors for different parts of the theme.
- General theme colors
- Header Colors
- Footer Colors
Theme Settings
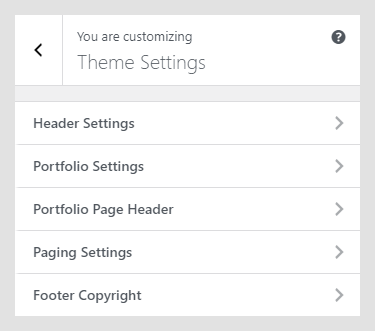
Header Settings
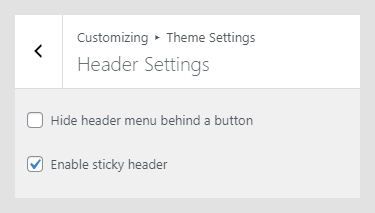 In the Header Settings in the Canvi WordPress theme documentation, you can change the main menu position and header behavior.
- Main menu appearance – menu can be displayed as standard line or to be hidden behind the “hamburger” button.
- In Scrolling Settings, you can set menu to be sticky or to scroll with the page.
Font Settings
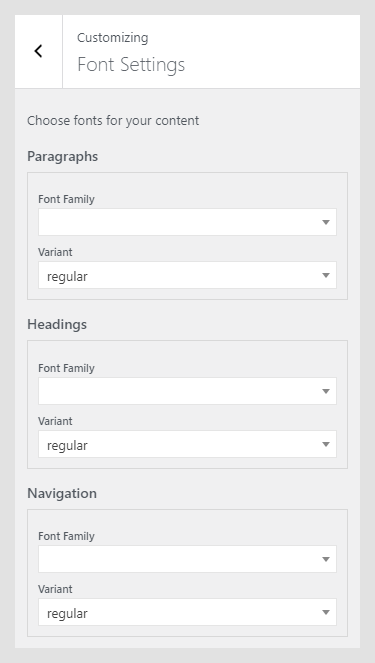
Font Settings allow you to set the desired font family for the paragraphs, headings, and navigation. The Font Settings option requires the Kirki Framework plugin to be installed and active.
All available fonts are Google Fonts. Custom fonts can be implemented with some CSS changes – feel free to submit a support ticket, and we will handle that for you.
Portfolio Settings
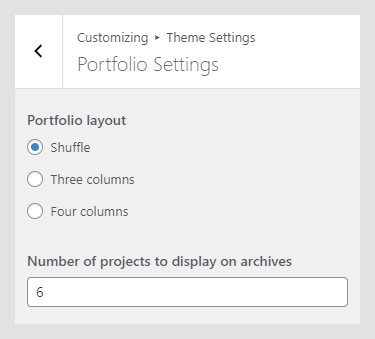
Portfolio settings panel is used to manage appearance of portfolio page.
- Portfolio page layout can be displayed as shuffle, or in regular grid in three or four columns.
- Number of projects defines number of portfolio itmes that are displayed per page.
Paging Settings
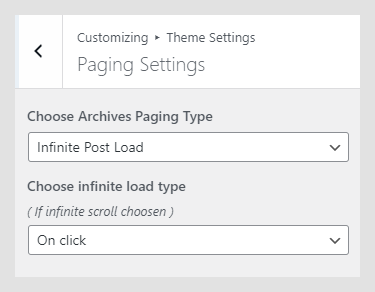
In paging settings you cna set pagination type on the whole site. Pagination can be regular pagination or infinite scroll. If you choose infinite scroll, then you can set what will trigger new items to load – click on the button or scrolling to the bottom of the page.
Footer Copyright
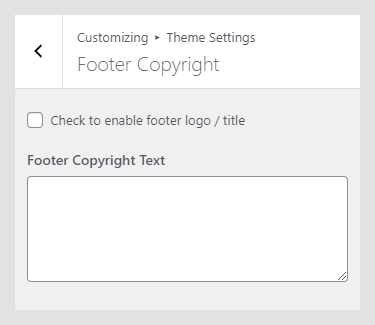 In the Footer Copyright field, you can enter your copyright or contact details. HTML tags can be used to style text.
Canvi WordPress theme documentation, step 5: Additional CSS
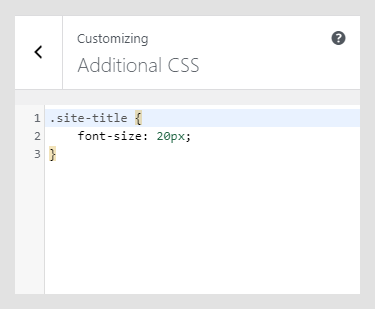 In the Additional CSS section, you can enter your custom CSS classes, so you don’t need to mess with original styles or create a child theme. Of course, you should create a child theme if you plan to modify other files, as well.