Renzo is a portfolio WordPress theme built for creatives that wish to impress potential clients and recruiters. This responsive, squeaky-clean theme will help you get hired right away.
Learn how you can get the most out of the theme with the Renzo WordPress theme documentation.
Renzo WordPress theme documentation, step 1: Theme specifications
- Post featured image recommended width is 667px.
- Page content maximum width is 1025px.
- Recommended logo size is
Renzo WordPress theme documentation, step 2: Theme installation
The theme can be installed through the WordPress Admin panel.
- Log in to the WordPress Admin panel.
- Go to Appearance -> Themes.
- Click on the Add New button, at the top of the screen.
- In Add Themes screen, click on Upload Theme.
- Click on Choose theme, and then browse for theme file on your computer.
- Click on Install Now to start the install process.
- After the installation is done, click on Activate theme.
A detailed video for theme installation is available here: https://help.themeskingdom.com/how-to-install-and-setup-the-theme.
After activating the theme, you will be prompted to install the required plugins. Required plugins in the Renzo WordPress theme documentation are:
Renzo WordPress theme documentation, step 3: Theme demo
To set the theme as presented in our demo, you can import the demo file.
Renzo WordPress theme documentation, step 4: Theme setup
To set up the theme, please follow the next steps:
- Renzo theme is set to display portfolio items on the homepage. Go to Portfolio -> Add New and create several portfolio items. Be sure to set featured images for each portfolio item, and group your projects into project types.
- Go to Pages -> Add New and create three new pages.
- Work: This page will be used as a landing page and to display all portfolio items. Create a page with Work title and select page template Portfolio.
- About: The About page is a static page that will display short text about the author. In our demo, we have inserted a block with a text and added class “emphasis” to that paragraph. Refer to the image to better understand how we have done that. Set page title About, and leave page template to Default.
- Contact: Contact page will be used to display the contact form. Insert Contact for the page title, insert a contact form, and leave page template to Default.
- Now, you need to customize a theme. Go to Appearance -> Customize and set the following:
- Site Identity: Set your logo or site title.
- Menus: In Menus, create a new menu and set it as Primary. Add your pages to the menu.
- Widgets: Add two widgets to the widget area. The first widget is the text widget with email. The second one is the navigation menus widget, which is set to display the Social menu.
- Homepage Settings: Set the theme to display a static page, and select the Work page.
- In Theme Options -> Portfolio Archive Options set Layout Width to Narrow.
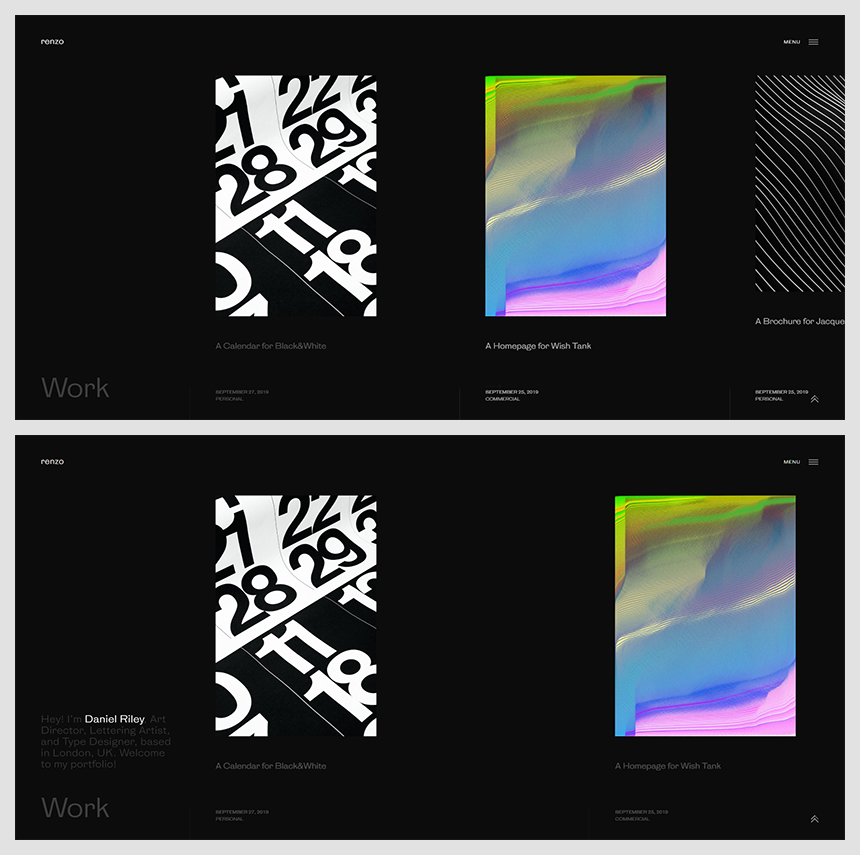
- Under Theme Options -> Menu Options select Show for Display description next to the hamburger menu option.
- In Theme Options -> Color Settings set Background Color to #000, Text Color to #FFF, Navigation Background Color to #204edf, and Navigation Text Color to #FFF.
In the following text, you can read how to customize your theme and add a personal touch to the theme.
Renzo WordPress theme documentation, step 5: The Customizer
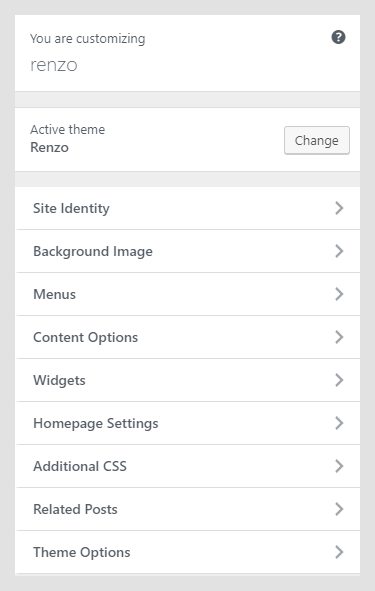
The Customizer in the Renzo WordPress theme documentation allows you to modify theme visuals and settings quickly. Here are the customization options in the Renzo theme:
- Site Identity
- Background Image
- Menus
- Content Options
- Widgets
- Homepage Settings
- Additional CSS
- Theme Options
Site Identity
TBD
Background Image
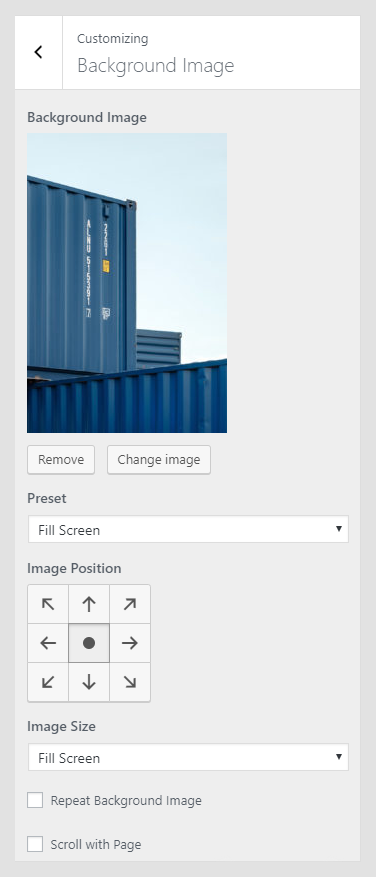
Depending on the use case, some users need to set a background image on the site. In the Background Image panel, you can set a background image. After choosing an image, you will be able to set background behavior.
- Preset: Defines image size – Fill Screen will stretch the image to fill the whole site; Fit to the screen will cover the only visible part of the site, and Repeat will keep original image proportions, but it will repeat the image. The Custom option allows you to set background parameters manually .
- Image Positions: Tool used to define the starting position for the image.
- Scroll with Page: Option available only if the background image is set to Repeat. If checked, the background will scroll together with the page content.
Menus
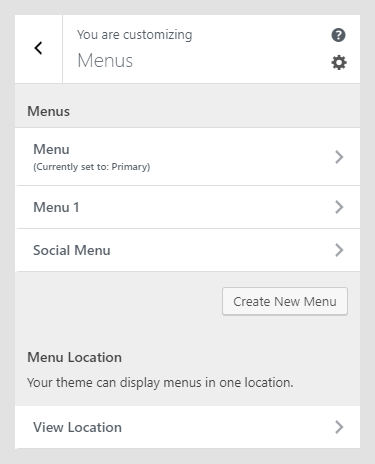 The Customizer menu option in the Renzo WordPress theme documentation allows the user to manage available menu locations, and add and remove menu items. The Renzo theme has two menu locations available – the Primary menu, which is mostly used for the main menu, and the Social menu. Menus can be managed from Appearance -> Menus, as well.
Widgets
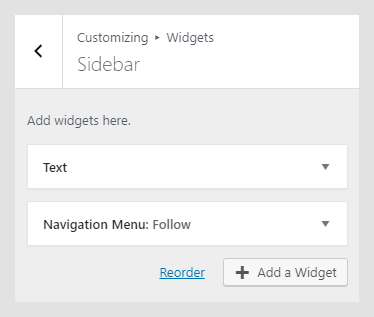 Widgets are useful extensions for content, which you can add to your sidebar or other widget areas. In the Widgets option in the Customizer, you can see available widgets area in the currently active theme.
Renzo theme has a footer widget area, which is displayed after clicking on the bottom trigger. In our demo, we have set two widgets – one text widget, and one Navigation Menus widget, which is displaying a Social menu. Widgets can also be managed from Appearance -> Widgets. Widgets appearance can be controlled with the Widget Visibility feature.
Homepage Settings
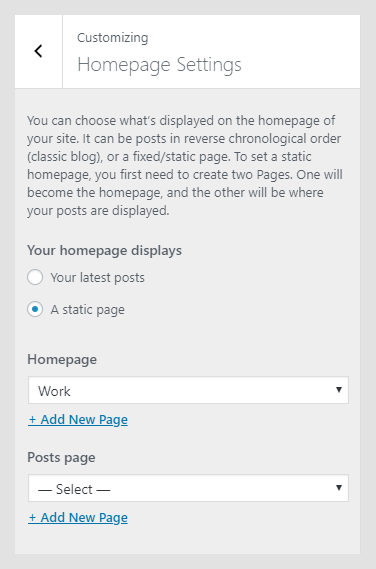
Homepage Settings in the Renzo WordPress theme documentation work the same way Reading Settings in Settings -> Reading does. Homepage Settings allow you to set the theme, to use static homepage, or to display the latest posts.
Theme Options
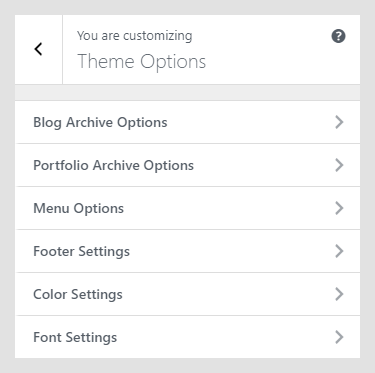
Theme Options contain theme-specific settings. Available options are:
- Blog Archive Options
- Portfolio Archive Options
- Menu Options
- Footer Settings
- Color Settings
- Font Settings
Blog Archive Options
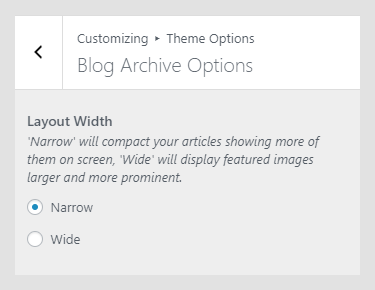
Blog archive option settings will affect the spacing between posts in the Blog archive.
Portfolio Archive Options
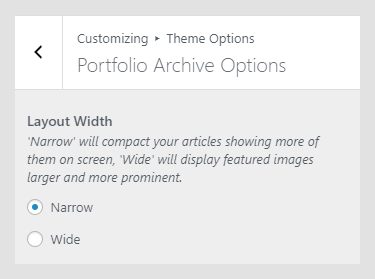
Portfolio archive option settings will affect the spacing between portfolio items in the Portfolio archive page.
Menu Options
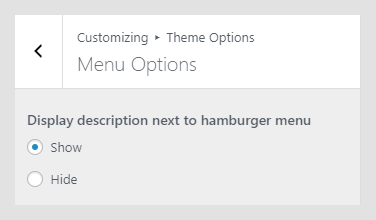
Menu Options will show or hide the word “Menu” that is written inline with the menu button.
Footer Settings
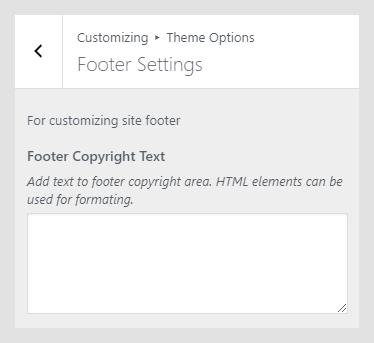
You can enter the text that will be displayed in the footer, as footer credits. You can enter basic HTML elements to create links and stylize footer text.
Color Settings
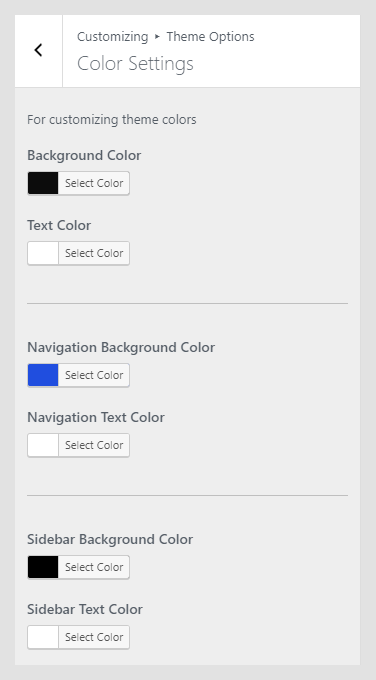
Setting up colors and adding a personal touch to the theme is important for building a personal brand. The Color Settings panel allows you to set colors for various elements in the theme.
Available settings:
- Background Color: Background color for the whole site.
- Text Color: Content text color, including headings.
- Navigation Background Color: Background color for the navigation panel.
- Navigation Text Color: Menu items color that is displayed in the main navigation.
- Sidebar Background Color: Background color for the widget area.
- Sidebar Text Color: Color of the text displayed in the widget area.
Font Settings
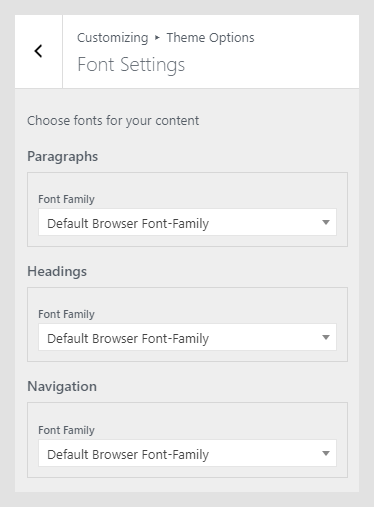
The Font Settings panel in the Renzo WordPress theme documentation is displayed only if the Kirki Framework plugin is installed and activated. Font Settings are used to set font families and weights for global text elements 一 content, headings, and navigation. Available fonts are from Google Fonts but without the extended variants. If you need assistance on how to integrate additional variants, please submit a support ticket.
Renzo WordPress theme documentatio, step 6: Additional CSS
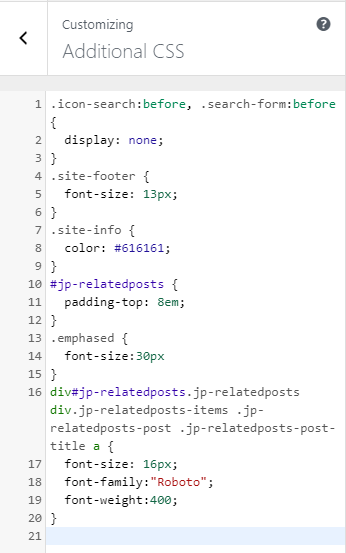
The Additional CSS section is used for custom CSS classes, without interfering with theme original CSS files, or creating a child theme. These classes are always loaded first, before other stylesheets. In the Useful CSS Classes section, you can find some most used classes.
Renzo WordPress theme documentatio, step 7: Useful CSS classes
Custom CSS classes can be added to the Additional CSS section in the Customizer.
