Rei is a highly customizable portfolio WordPress theme developed for photographers. Thanks to this contemporary theme, your website will become a shining example of how a photographer’s portfolio should look.
Learn how you can get the most out of the theme with the Rei WordPress theme documentation.
Rei WordPress theme documentation, step 1: Theme specifications
- Post featured image recommended width is 1100px.
- Portfolio featured image recommended width is 1100px.
- Page and Post content maximum width is 760px.
- Recommended logo size is 280 x 80px.
- Sidebar content width is 300px.
Rei WordPress theme documentation, step 2: Theme installation
The theme can be installed through the WordPress Admin panel.
- Log in to the WordPress Admin panel.
- Go to Appearance -> Themes.
- Click on the Add New button, at the top of the screen.
- In Add Themes screen, click on Upload Theme.
- Click on Choose theme, and then browse for theme file on your computer.
- Click on Install Now to start the install process.
- After the installation is done, click on Activate theme.
A detailed video for theme installation is available here: https://help.themeskingdom.com/how-to-install-and-setup-the-theme.
After activating the theme, you will be prompted to install the required plugins. Required plugins in the Rei WordPress theme documentation are:
Rei WordPress theme documentation, step 3: Theme setup
Rei theme is set to display portfolio items on the homepage, and posts on the inner page. To set up the theme, please follow the next steps:
- Create pages with the default template: About, Journal and Contact. The Journal page will be used to display all posts. Create a page with title Work 2019/20, and set it to use the Portfolio page template.
- In this step, you’ll learn how to create colorful text on the homepage. Go to Pages -> All Pages and open page Work 2019/20 (you have created that page on the previous step). Now, in the Gutenberg editor, insert an HTML block and add code like this:
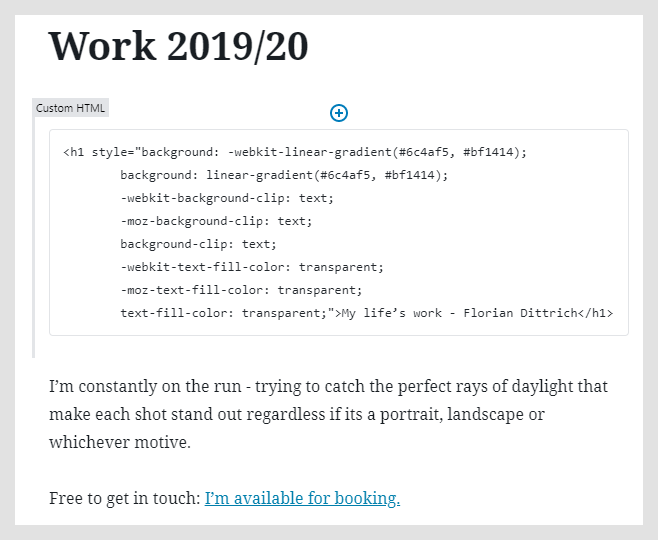 Code explanation: h1 tag is the biggest heading tag, where we added custom style for linear background. The linear background is visible because text color is set to transparent, but we also have set text clipping.You can add this as a CSS class to the Additional CSS and use it for other text, that is sharing the same class name:
.gradient-text {
background: -webkit-linear-gradient(#6c4af5, #bf1414);
background: linear-gradient(#6c4af5, #bf1414);
-webkit-background-clip: text;
-moz-background-clip: text;
background-clip: text;
-webkit-text-fill-color: transparent;
-moz-text-fill-color: transparent;
text-fill-color: transparent;
}
In this case, you will just need to add class=”gradient-text” to your text tags.
To set the desired background, you can use this site to create a gradient: https://cssgradient.io/.
Check the option “Max Compatibility”, and then copy and paste background properties inside the class or your element. - For the Contact page, you will need to insert a contact form into the page. The contact form is provided by the Jetpack plugin.
- Go to Settings -> Reading. Select the homepage to display a static page. For Homepage, set Work 2019/20 page, and for the Posts page set Journal page.
- Now, it’s time you add some portfolio itemes, which will be displayed on the homepage. Go to Portfolio -> Add New. Create several portfolio items. For each portfolio item enter a title, and set a featured image. Create several portfolio categories, and organize your portfolio items per category. Portfolio categories are used for portfolio filters on the Portfolio page. Also, portfolio categories are used to set a featured slider on the Portfolio page.
- As mentioned above, the Blog page will display posts. Go to Posts -> Add New and create several posts. For posts, you will need to enter titles, post content and set featured images.
- Creating a Primary and Social menu: Go to Appearance -> Menus. Create a new menu with title e.g. Primary. Add all your pages to it, and mark it as a Primary. Change Work 2019/20 title to Home, since we have set it as homepage. Create another menu with name e.g. Social and add as Custom Links links to your social profiles. Mark that menu as social.
- Finally, you need to add some personal touch to the theme. Go to Appearance -> Customize.
- Site Identity: Set your logo or site title.
- In Theme Settings -> Header Settings enable Sticky header.
- Theme Settings -> Portfolio Settings set Portfolio layout to three columns, and set the number of projects to display.
- In Theme Settings -> Portfolio Page Header enable Headline Text and leave the field empty.
- In Theme Settings -> Paging Settings set site to use Standard paging on Archives.
- In Theme Options -> Footer Settings enter your footer copyright text. You can use HTML elements to create links.
If you want to do some theme customization and add a personal touch to it, be sure to read the following text.
Rei WordPress theme documentation, step 4: The Customizer
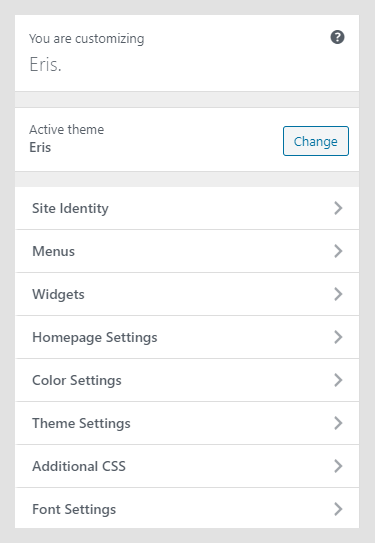
The Customizer allows you to modify theme visuals and settings quickly. Here are the customization options in the Rei theme:
- Site Identity
- Menus
- Widgets
- Homepage Settings
- Color Settings
- Theme Settings
- Additional CSS
- Font Settings
Site Identity
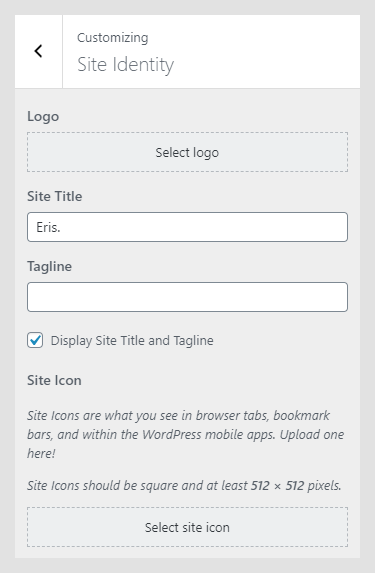
The Site Identity panel in the Rei WordPress theme documentation is used for setting up basic site identity:
- Logo: Site logo is an image in a .jpg, .jpeg or .png format. Suggested logo image size is 210 x 40px.
- Site Title: The name of your site. The ideal length should not exceed 20 characters. If the site title is longer, it will be displayed in two (or more) lines.
- Tagline: Tagline is a short description of the site, or simply a punchline of your business.
- Title and Tagline Visibility: If Display Site Title and Tagline is checked, both Site Title and Tagline will be displayed.
- Site Icon: Site icon will be displayed in a browser tab, bookmarks or in the WordPress mobile app. The icon should be squarely-shaped, and the recommended icon size is 512 x 512px.
Menus
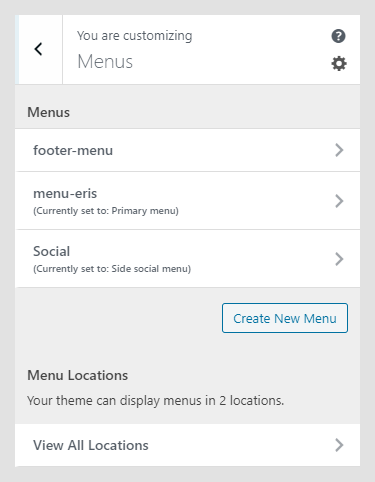
The Customizer menu option allows the user to manage available menu locations, and add and remove menu items. Rei theme has two menu locations available – the Header menu, which is mostly used as a Primary menu, and the Social menu. Menus can be managed from Appearance -> Menus as well.
Widgets
Widgets in the Rei WordPress theme documentation are useful extensions for content, which you can add to your sidebar or other widget areas. In the Widgets option in the Customizer, you can see available widgets area in the currently active theme.
Rei theme has only a regular sidebar area, which is triggered by clicking on the button.
Homepage Settings
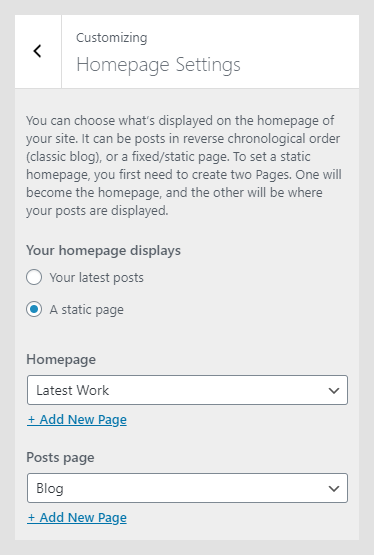
Homepage Settings work the same way Reading settings in Settings -> Reading does. Homepage settings allow you to set the theme to use static homepage, or to display the latest posts.
Color Settings
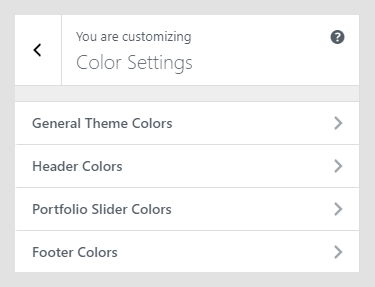
Setting up colors and adding a personal touch to the theme is important for building a personal brand. The Color Settings panel allows you to set colors for various elements in the theme.
- General Theme Colors: The color palette used across the site covers background color, text and heading color, link color, etc.
- Header Colors: Here, you can set colors that will be used in the site header for the title, navigation items, etc.
- Portfolio Slider Colors: Colors used for portfolio slider on the Portfolio page.
- Footer Colors: Colors used in the footer.
Theme Settings
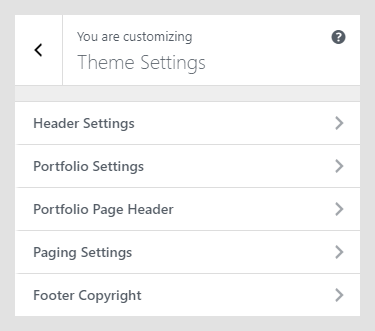
The Theme Settings panel in the Rei WordPress theme documentation contains theme-specific settings.
- Header Settings
- Portfolio Settings
- Portfolio Page Header
- Paging Settings
- Footer Settings
Header Settings
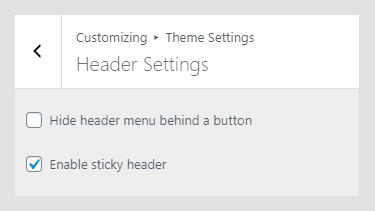
In the Header Settings, you can set header options – hide main navigation behind a hamburger button, and make the main navigation sticky.
Portfolio Settings
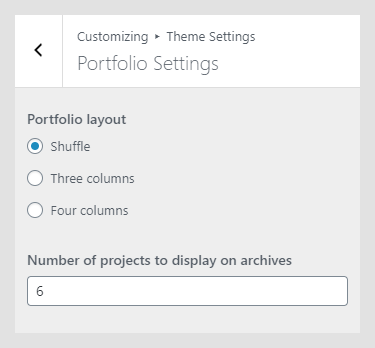
The Portfolio Settings panel in the Rei WordPress theme documentation controls the Portfolio page layout. Portfolio page layout can be set to shuffle mode – in this case, portfolio items will be scattered around, without a precise grid. Other options include standard 3- and 4-column grids.
Portfolio Page Header
On the page with the portfolio template can be displayed slider or headline text. Depending on the selection, additional options in this panel will be displayed.
Featured Slider
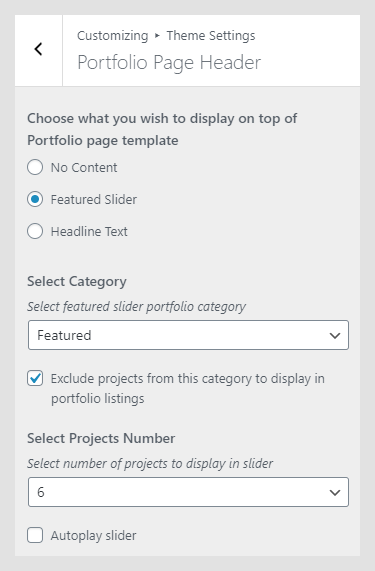
Featured Slider will enable the portfolio slider on the page with the portfolio template. The slider is displaying portfolio items from the selected category. Items in the slider can be excluded from the listing on the portfolio page, and that way they will not be double displayed.
To set the portfolio featured slider:
- Go to Portfolio -> Add New. Create several portfolio items and set featured images for each item. Organize your portfolio items into categories.
- Go to Pages -> Add New. Create new page with Portfolio page template.
- Go to Appearance -> Customize. In Theme Settings -> Portfolio Page Header chooses Featured Slider and select portfolio category which you wish to use for portfolio items.
Headline Text
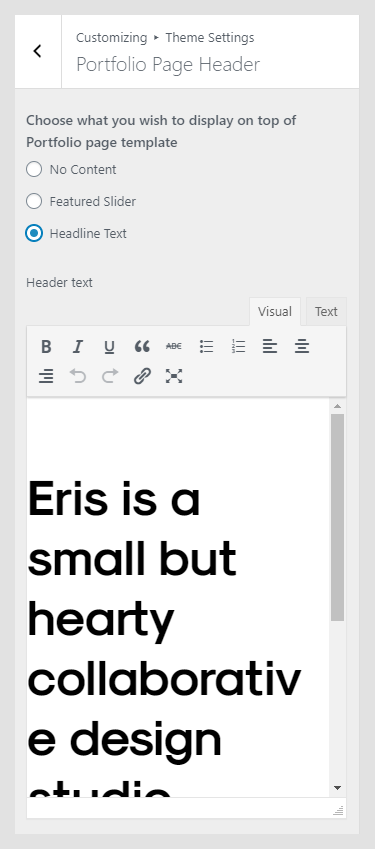
Headline Text in the Rei WordPress theme documentation will be displayed instead of the slider. You just need to enter the text in a text editor, which will appear after choosing this option.
Paging Settings
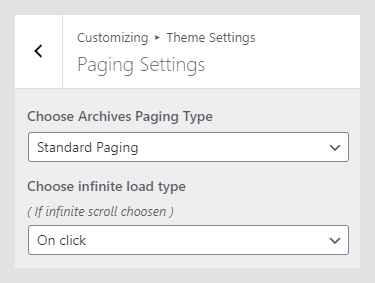
Paging Settings will set archives page to use either classic pagination or infinite scroll.
Footer Settings
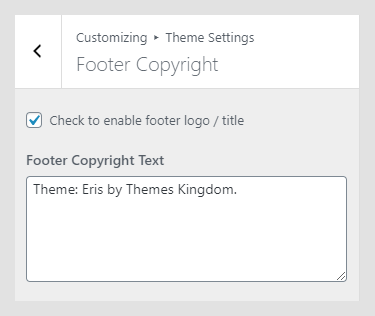
Footer Copyright Text: Text that will be displayed in the footer, as footer credits. You can enter basic HTML elements to create links and stylize footer text.
Rei WordPress theme documentation, step 5: Additional CSS
Additional CSS is a place where you can place your CSS without interfering with theme files. Great way to quickly test fixes, or simply place your modifications instead of using child theme files.
Font Settings
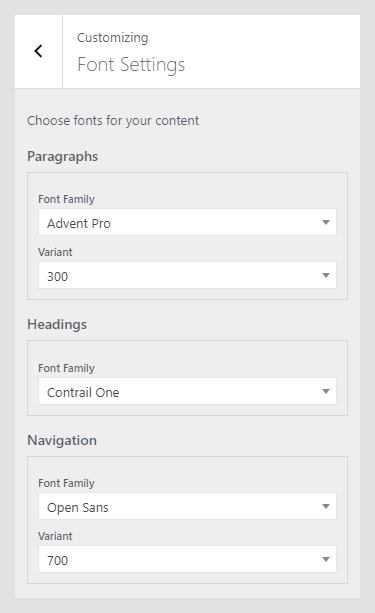
The Font Settings panel is displayed only if the Kirki Framework plugin is installed and activated. Font Settings are used to set font families and weights for global text elements 一 content, headings, and navigation. Available fonts are from Google Fonts but without extended variants. If you need assistance on how to integrate additional variants, please submit a support ticket.
Rei WordPress theme documentation, step 6: Useful CSS classes
Custom CSS classes can be added to the Additional CSS section in the Customizer.