Read how you can get the most out of the theme with the Ettore WordPress theme documentation.
Ettore WordPress theme documentation, step 1: Theme specifications
- Recommended logo size: 220x50px.
- Featured image width is 1200px.
- Single post and page content width: 760px.
Ettore WordPress theme documentation, step 2: Theme installation
The theme can be installed through the WordPress Admin panel.
- Log in to the WordPress Admin panel.
- Go to Appearance -> Themes.
- Click on the Add New button, at the top of the screen.
- In Add Themes screen, click on Upload Theme.
- Click on Choose theme, and then browse for theme file on your computer.
- Click on Install Now to start the install process.
- After the installation is done, click on Activate theme.
A detailed video for theme installation is available here: https://help.themeskingdom.com/how-to-install-and-setup-the-theme.
After activating the theme, you will be prompted to install the required plugins. Required plugins in the Ettore WordPress theme documentation are:
Ettore WordPress theme documentation, step 3: Theme setup
Ettore theme is set to display the latest posts on the homepage. To set your theme the same way we did in the demo, be sure to follow these steps:
- First, you will need to create several post categories. Categories will be used to group posts, and in the theme, you will use them in the navigation and to set the Featured Category Slider.
- When you are done with creating the categories, create several posts and associate them with different categories. Make sure to set the featured image for each post. Add tags to your posts – they are used in the tag cloud.
- Now, you’ll need to create pages where your content will be displayed – create pages About and Contact. About and Contact pages using the Default page template. Insert a contact form into the Contact page.
- Ettore theme is using Your latest post-reading settings, so you don’t need to change it.
- Go to Appearance -> Menus and create a new menu. Add Home as Custom Link to your homepage, all pages. Mark this menu as Primary.
- Crate additional menus Categories, Company, and Social. These menus are used in the footer widgets.
- Finally, you’ll need to tweak a few things in the Customizer. Go to Appearance -> Customize:
- Site Identity: Set a logo and favicon for your site.
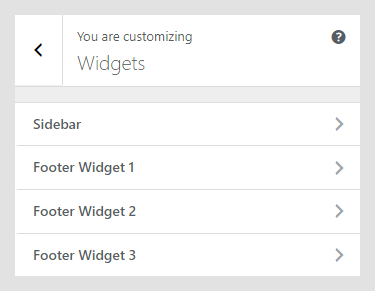
- Widgets:
- Footer Widgets 1: Add three navigation menu widgets – select for them your Primary menu, Categories menu, and Social menu. Note: If you add three navigation menu widgets to the footer widgets 1 area, they will be displayed inline. All other widgets will be stacked by default.
- Footer Widgets 2: Add a text widget with a short description.
- Footer widgets 3: Add a newsletter widget – we have used the MailChimp plugin for newsletters, but you can use some others.
- In the Theme Settings you need to set the following:
- Theme Settings -> Layout settings: Set archive pages layout to full width. Set Single Page/Post to Full width, and set Paging type to Infinite post load.
- Theme Settings -> Featured Slider: Enable featured slider. Choose a post category from which the posts will be pulled and displayed in the featured slider. Set the number of posts.
- Theme Settings -> Header Settings: Enable sticky header.
Ettore WordPress theme documentation, step 4: The Customizer
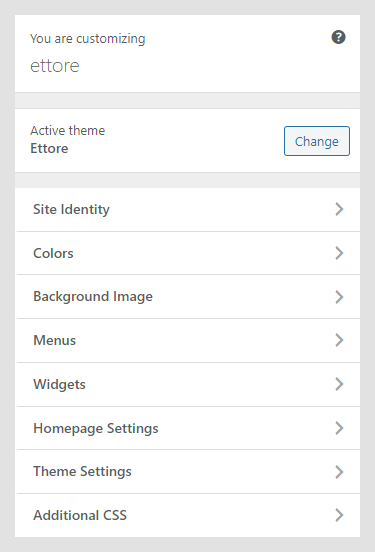
The Customizer is a great WordPress feature that allows you to customize the theme and set theme options. Theme-specific settings:
Site Identity
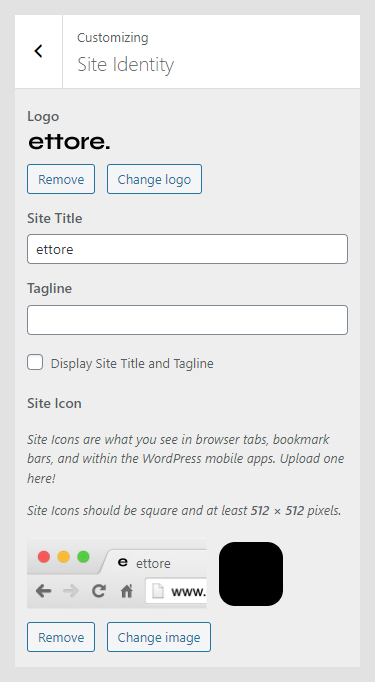
Site Identity in the Ettore WordPress theme documentation allows you to set your site title, tagline, and icon. The Site Title is the name of your site and it’s displayed in the header, where the logo is displayed. The Tagline is a short description or your motto, and it’s displayed just under the title. This setting is the same as in Settings -> General in the WordPress admin panel.
- Logo: Upload logo for your site. The logo should be in a PNG, or JPEG/JPG format.
- Site title: Name of your site.
- Tagline: Site punchline.
- Display Site Title and Tagline: If enabled, both Site Title and Tagline will be displayed. Tagline will be displayed under the title.
- Site Icon: The Site Icon is used as a browser and app icon for your site. Icons must be square, and at least 512px wide and tall.
Color Settings
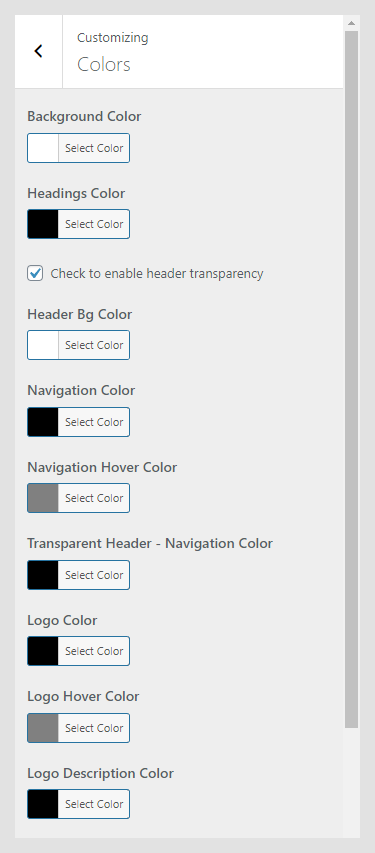
The Colors panel in the Ettore WordPress theme documentation allows you to set the color for different elements of the theme.
Menus
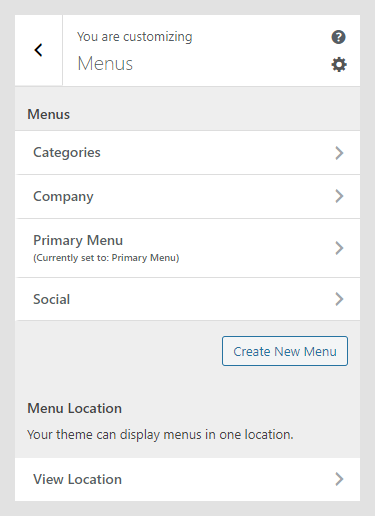
This option allows you to manage created menus quickly. You can select which created menu will be displayed as a Primary Menu or Footer Menu. If you need to manage actual menu items, you can do that in Appearance -> Menu.
Widgets
The Widgets section in the Ettore WordPress theme documentation allows you to manage widgets in widget areas quickly. This option allows you the same possibility as the Widgets option in the WordPress admin panel.
Homepage Settings
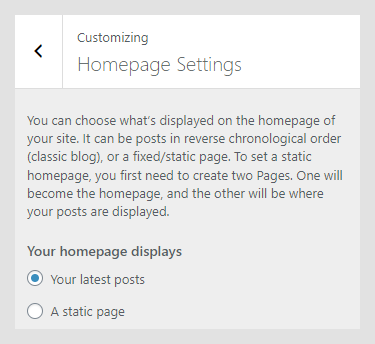
This option works the same way as Settings -> Reading. It allows you to set them to read the latest post or to use static pages for landing and blog pages.
Theme Settings
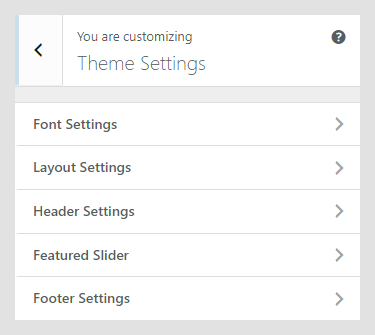
The Theme Settings panel contains theme-specific settings. Here you can customize theme appearance – featured slider, Instagram feed, footer and header settings, and to change layout appearance.
- Font Settings
- Layout Settings
- Header Settings
- Featured Slider
- Footer Settings
Font Settings
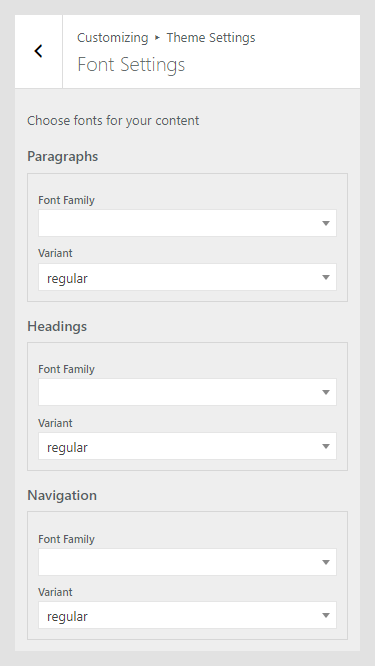
Font Settings in the Ettore WordPress theme documentation allow you to set the font family and font-weight for headings, paragraphs and navigation.
Layout Settings

Here, you can control the appearance of archives and single posts and pages.
- Choose Archive Pages Layout: The archive page(posts, category archive, tag archive) can be displayed in full-width or in the boxed mode. In boxed mode main container width is limited to 1200px.
- Display Posts in Two Columns layout: If enabled, posts will be always displayed in two columns.
- Choose Single Page / Post: Single post/page can be displayed in full-width or in the boxed mode. In boxed mode main container width is limited to 840px.
- Choose Archive Paging Type: Pagination can be classic with numbers, or it can be infinite scroll. Infinite scroll can be triggered on the click on or on scroll.
Header Settings
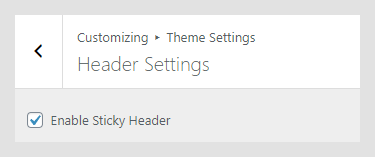
In the Header Settings panel, you can enable or disable the sticky header – if disabled, the header with navigation will scroll together with the page.
Featured Slider
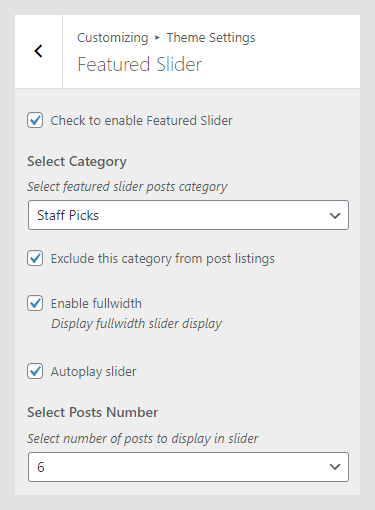
Featured slider in the Ettore theme is using featured images from posts, that are associated with the same category.
- Check to enable Featured Slider: If enabled, the slider will appear on the homepage. The slider will appear only if the theme is set to display latest posts on the homepage.
- Select Category: Only posts from the chosen category will be displayed in the slider.
- Exclude posts from this category to display in post listings: If enabled, posts that are displayed in the slider will not be displayed in posts listing. That way, posts will not be shown two times on the same page.
- Enable fullwidth: If enabled, the slider will be displayed in full-width.
- Autoplay slider: If enabled, slides will automaticaly change.
- Select Posts Number: The number of posts that will be displayed.
Setting up Featured content slider
The Featured content slider is displayed on the homepage, and setting up the slider is quite simple.
- Make sure that your theme reading settings are set to Your latest post.
- Create several posts and set featured images for each of the posts.
- Group the desired posts in the same category – e.g. “Featured”.
- Go to Appearance -> Customize and in Featured Content panel select the category that you have used for your posts.
Footer Settings
In the Footer Settings panel can be inserted copyright details, contact details and such. You can use HTML elements to format text and create links.
Additional CSS
In the Additional CSS section, you can enter your custom CSS classes, so you don’t need to mess with original styles, or create a child theme. Of course, you should create a child theme if you plan to modify other files, as well.