Andara WordPress theme documentation is a thorough documentation that explains how to customize the Andara theme.
Andara WordPress theme is a stunning, clean-cut e-commerce WordPress theme. Andara’s homepage is built to make all your products shine and outshine your competitors. The theme’s design consists of modules that are like LEGO bricks for your website 一 you can rearrange them in any way you like. This responsive and highly customizable theme (over 800 typefaces and numerous colors to choose from) also comes with a blog section.
Read through the Andara WordPress theme documentation to can learn how to get the most out of the theme.
Andara WordPress theme documentation, step 1: Installation
The theme can be installed through the WordPress Admin panel.
- Log in to the WordPress Admin panel.
- Go to Appearance -> Themes.
- Click on the Add New button, at the top of the screen.
- In Add Themes screen, click on Upload Theme.
- Click on Choose theme, and then browse for a theme file on your computer.
- Click on Install Now to start the install process.
- After the installation is done, click on Activate theme.
A detailed video for theme installation is available here: https://help.themeskingdom.com/how-to-install-and-setup-the-theme.
After activating the theme, you will be prompted to install the required plugins. Required plugins are:
- Jetpack
- Kirki
- Slider Custom Post Type
- MailChimp
- Max Mega Menu
- WooCommerce
- Ultimate WooCommerce Filters
- YITH WooCommerce Wishlist
JetPack
Jetpack is the world popular plugin that extends WordPress features. In the Andara theme, it is used to extend galleries’ features and protection. The official documentation is available here: https://help.themeskingdom.com/jetpack-plugin/.
Kirki
Kirki is a plugin that enhances theme experience by adding useful elements in the Customizer, like image position picker, font settings and such.
Slider Custom Post Type
Slider Custom Post Type plugin adds Slider post type to the theme.
MailChimp
MailChimp plugin allows you to add a MailChimp signup form widget to your WordPress quickly.
Max Mega Menu
Max Mega Menu plugin is used to create max menus – visually outstanding and more massive navigation menus. Max Menus are used to display numerous items at once in a very appealing way. The official documentation is available here: https://www.megamenu.com/documentation/.
WooCommerce
WooCommerce is a free eCommerce plugin that allows you to sell anything. Built to integrate seamlessly with WordPress, WooCommerce is the world’s favorite eCommerce solution that gives both store owners and developers complete control.
Ultimate WooCommerce Filters
Ultimate WooCommerce Filters plugin extends the default WooCommerce filters with more features.
YITH WooCommerce Wishlist
Wishlist allows visitors to “save” items for later, without adding them to the cart. Items on the wishlist can be reviewed, and removed if they are no longer needed.
Andara WordPress theme documentation, step 2: Demo
To set the theme as presented in our demo, you can import the demo file.
Andara WordPress theme documentation, step 3: Theme setup
Before starting the Andara setup, please install and setup the WooCommerce plugin. During the setup process, you will need to set up store address, payment methods and shipping methods. WooCommerce will also create all pages that are required for a shop – Shop, Cart, Checkout, and My Account.
To set up the theme, please follow the next steps:
- First, go to Pages -> Add New, and create pages Home, About, Journal, and Contact. For the Home page, set the Front Page template, while the other pages should use the Default template.
- In the Contact page, you will need to insert your contact details and add a contact form.
- Go to Settings -> Reading. Select the homepage to display a static page. For the Homepage, set the Home page, and for the Posts page, set the Journal page.
- Create some posts – go to Posts -> Add New and create several posts. Set the featured images. All posts will be displayed on the Journal page.
- Go to Products -> Categories. Create several product categories – in our demo, we have created categories Accessories, Bags, Jewelry, Blazers, Dresses, etc. Categories are used to group similar products – and to display product groups in the navigation.
- Create several products and associate them with the product categories.
- In the Slider section, create two new slides. You will need to set featured images for the slides. In the titles, you can use a simple HTML markup like strong and em to create bold or italic text.
- To set up the main navigation, go to Appearance -> Menus. Create a new menu and enable the Max Mega Menu first, in the left-hand side panel. Once you do that, you can add the items. When you are done with the structure, point the cursor over the top menu item and click on the Mega Menu button. In the Mega Menu panel, select Grid Layout, and add top items in the columns. The menu will automatically recognize subitems. Mark menu as Primary and save changes.
You will also need to create additional menus which will be displayed in the footer widgets – Social menu with links to your social profiles, Company with links to the static pages and Help – which can lead to the Terms and Conditions page, or any other page that is related to your shop. - Now, it’s time you build a homepage.
- Go to Appearance -> Customize and set the following options:
- Site Identity: Set site logo and favicon.
- Content Options: Enable author bio on a single post.
- Widgets: Add widgets to the desired widget areas. In our demo, we have set:
- Sidebar: Two text widgets, one image, one Recent Posts, and Mailchimp subscribe widget.
- Footer Widgets 1: Three Navigation Menus – Company, Help, Social. Note: Only Navigation Menu widgets will be displayed inline, all other widgets will be stacked.
- Footer Widgets 2: Add MailChimp subscription widget.
- Footer Widgets 3: Leave blank.
- Theme Options:
- Header Settings: Disable sticky header, and set Logo Position to Center.
- Footer Settings: Enter the desired footer credits. You can use HTML elements to style text.
- Category Filter Settings: Enable category filters on archive pages.
- Banner Settings: Enable the top banner and enter text for the top banner.
- Mailchimp Newsletter Modal Settings: Enable MailChimp modal, set background image, and set modal to show on Scroll up.
- Front Page Settings:
- Front Page Slider Settings: Enable slider on the front page, and set the number of slides. Make sure that you have created slides before enabling the slider.
- Call To Action Section Settings 1: Set Call to action Layout to Full-Width, set larger image (e.g. 1920x800px). Enter title and content – you can use HTML elements to style your title and content.
- Call To Action Section Settings 2: Set Call to action Layout to 2/3 + 1/3. Set images for each section and enter title and content – you can use HTML elements to style your title and content.
- Call To Action Section Settings 3: Set Call to action Layout to 1/2 + 1/2. Set images for each section and enter title and content – you can use HTML elements to style your title and content.
- Call To Action Section Settings 4: Set Call to action Layout to Full-Width, set larger image (e.g. 1920x800px). Enter title and content – you can use HTML elements to style your title and content.
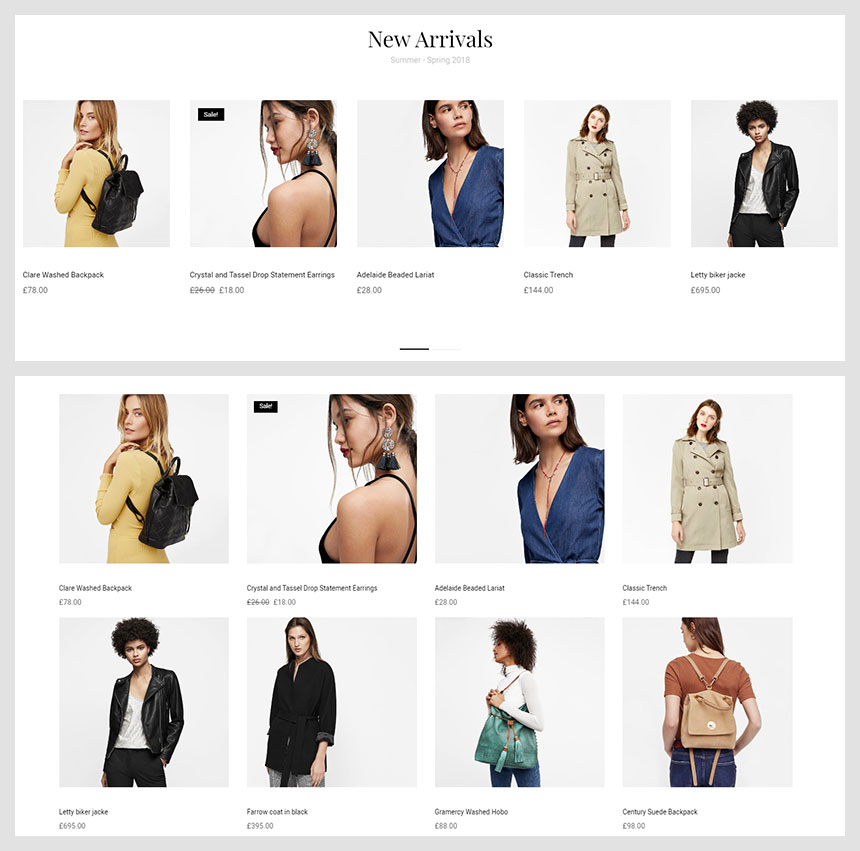
- Products Section Settings: Enter title (“New Arrivals”) and subtitle (“Summer – Spring 2018”), and set display to a carousel. Select the Newest products category. Set the number of products to 10. Before setting this up, you will need to create Products.
- Blog Section Settings: Enter title (“Editorial content”) and subtitle (“Be the first to know.”). Leave the category unselected – that way posts from all categories will be displayed.
- Front Page Sections Order: Set sections in the desired order, or set as in our demo: Call to action section 2, Call to action section 3, Call to action section 1, Products section, Call to action section 4, Blog section.
- WooCommerce:
- Shop Header Settings: Enable both – My Account and Saved items, and Mini Cart.
- Shop Layout: Set it to Regular Grid, set shop sidebar to No Sidebar, and set the number of columns on the shop and product category page.
Andara WordPress theme documentation, step 4: The Customizer
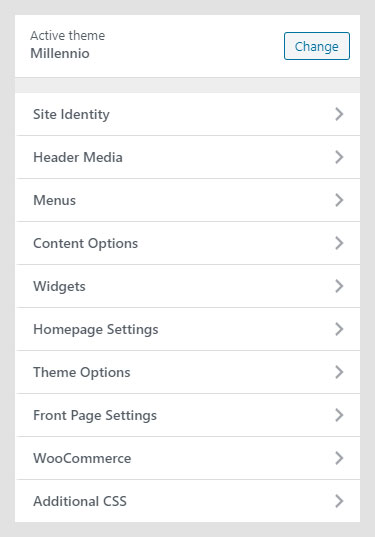
The Customizer is a great WordPress feature that allows you to customize the theme and set theme options. Customization options available in the Customizer:
- Site Identity
- Header Media
- Menus
- Content Options
- Widgets
- Homepage Settings
- Theme Options
- Front Page Settings
- WooCommerce
- Additional CSS
Site Identity
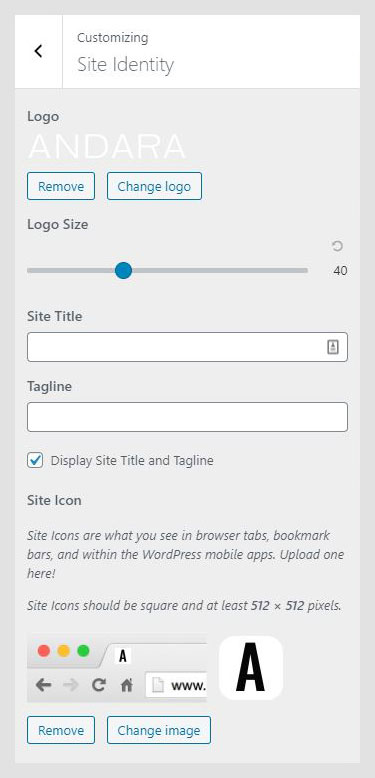
In the Andara WordPress theme documentation, the Site Identity allows you to set your site logo, title, tagline, and icon. A Site Title is the name of your site and it’s displayed in the header, where the logo is displayed. The Tagline is a short description or your motto, and it’s displayed just under the title.
- Logo: For logo set a JPG, JPEG, or PNG image.
- Logo Size: Moving slider to the left or right will increase or decrease the logo size. Changes in logo size will be displayed in the preview panel.
- Site title: Name of your site. The site title is displayed only if the logo is not set.
- Tagline: Site punchline. The tagline will be displayed together with a logo or site title.
- Display Site Title and Tagline: If enabled, both title and tagline will be displayed in the header.
- Site Icon: The Site Icon is used as a browser and app icon for your site. Icons must be square, and at least 512px wide and tall.
Header Media
Header media in the Andara WordPress theme documentation is the default section that allows the upload of the video in the header.
- Header Video: Upload your video in a .mp4 format and minimize its file size for the best results.
- YouTube URL: Instead of uploading a video, you can paste a YouTube URL.
- Header Image: Click “Add new image” to upload an image file from your computer. Your theme works best with an image that matches the size of your video — you’ll be able to crop your image once you upload it for a perfect fit.
- Title: Title that will be displayed before the video starts playing.
- Title Color: Color of the title.
- Text: Enter the short text that will be displayed with the title.
- Text Color: Color of text in the header.
Menus
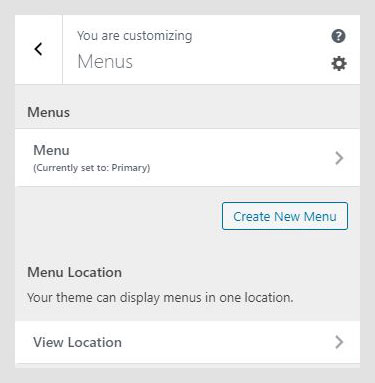
This option allows you to manage created menus quickly. You can select which menu will be displayed as a Primary Menu or as a Social Menu. If you need to manage actual menu items, you can do that in Appearance -> Menu.
Content Options
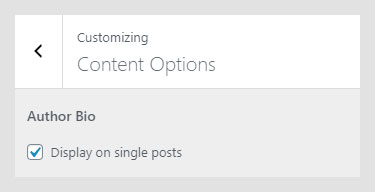
Content Options allows you to turn on or off author bio on the single post page.
Widgets
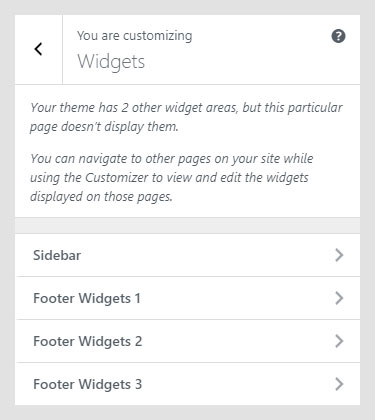
Widgets section allows you to manage widgets in the widget areas quickly. This option allows you the same possibility as the Widgets option in the WordPress admin panel.
Homepage Settings for the Andara theme
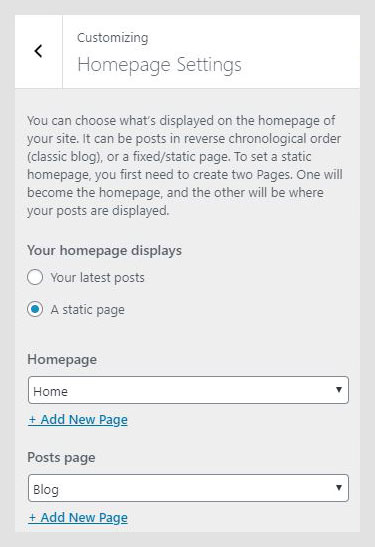
This option works the same way as Settings -> Reading. It allows you to set them to read the latest post or to use static pages for landing and blog pages.
Theme Options
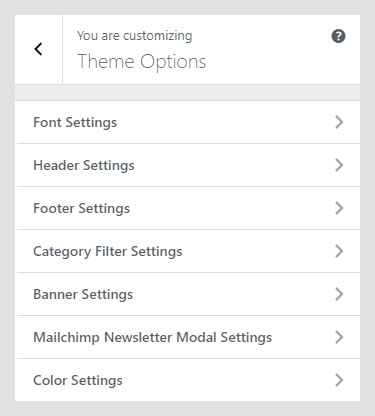
The Theme Options panel contains theme-specific settings. Available options are:
- Font Settings
- Header Settings
- Footer Settings
- Category Filter Settings
- Banner Settings
- MailChimp Newsletter Modal Settings
- Color Settings
Header Settings
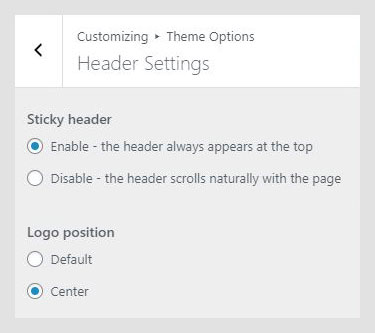
In Header Settings of the Andara WordPress theme documentation, you can set navigation behavior and logo position.
- Sticky header: If Enabled, the header will always appear at the top.
- Logo position: Logo can be displayed in the upper left corner, or centered.
Footer Settings
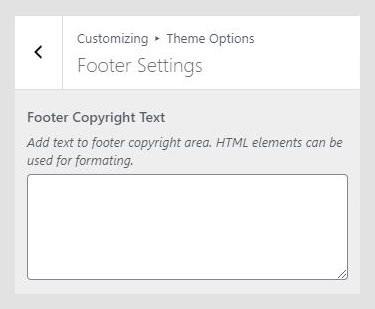
Footer Settings have only text area. Add text to the footer copyright area. HTML elements can be used for formating.
Category Filter Settings
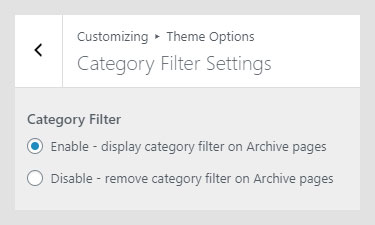
The Category Filter section of the Andara WordPress theme documentation is used to enable or disable the post category filter on the archive page.
Banner Settings
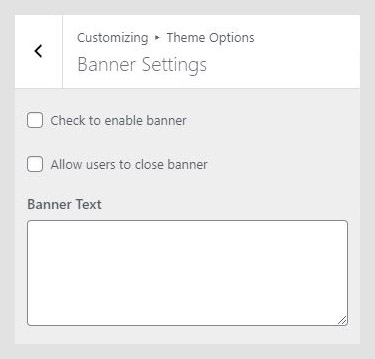
A banner is a small marketing enhancement. Enter the desired text, and enable it and it will be displayed just above the main header, at the very top. Very useful for promoting sales, new products and such. There is a setting that allows users to close the banner.
MailChimp Newsletter Modal
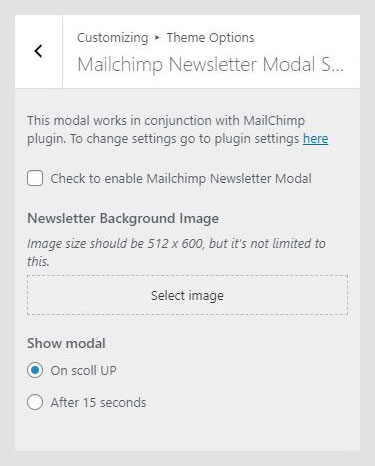
Before using this option, make sure that you have installed and configured the MailChimp plugin.
MailChimp modal is a cool feature to gather emails for email marketing campaigns. If enabled, it will pop up in the middle of the screen and prompt the user to enter an email address.
- Check to enable Mailchimp Newsletter Modal: If checked, a popup will be enabled.
- Newsletter Background Image: Image that will be used as background for the modal. Image size should be 512 x 600, but it’s not limited to this.
- Show modal: The modal will be shown – on a scroll or after 15 seconds.
Color Settings
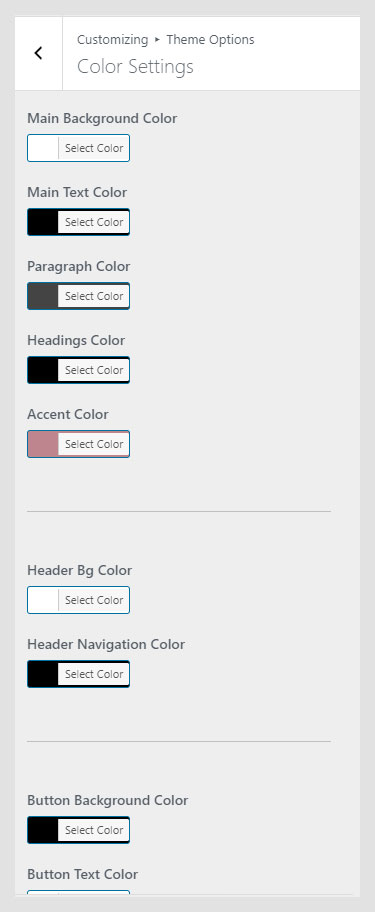
In the Color Settings panel, you can set a color scheme for global elements (background, paragraphs, headings, and minor elements), header (background and navigation), buttons and search modal.
Front Page Settings
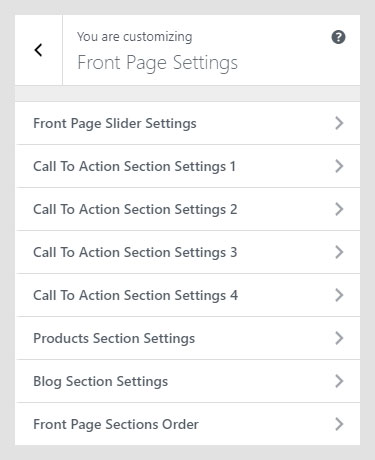
Front Page Settings allow you to manage homepage sections – slider, call to actions, products, and blog; and to manage their order on the front page.
- Slider Settings
- Call to Action Settings
- Products Section Settings
- Blog Section Settings
- Front Page Sections Order
Slider Settings
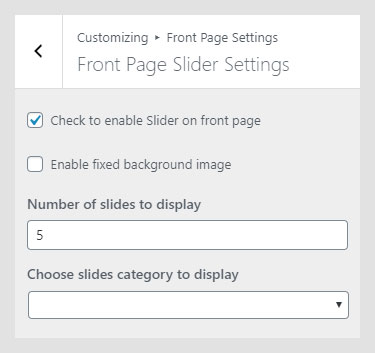
Slider Settings within the Andara WordPress theme documentation control the presence of the slider and effects.
- Enable Slider section: Turn on to enable slider on the front page. Please note that this is a different slider than the one on the Portfolio page. This slider is using items from the Slider section.
- Enable fixed background image: The image will be fixed, and the page content will overflow the image.
- The number of slides to display: How many slides will be displayed.
- Choose slides category to display: Select a slider category that will be used. Leave blank to use slides from all categories.
Call to Action Settings
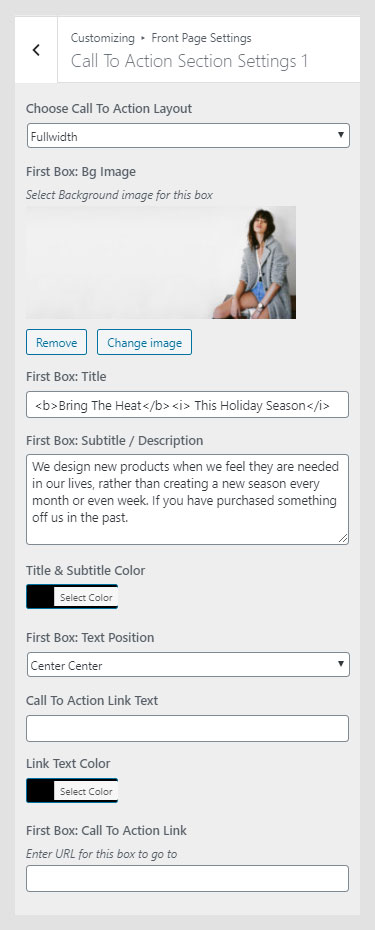
Each call to action block can have different settings. Options that allow feature management:
- Choose Call To Action Layout: Call to action sections can be displayed in the following layout options: 1/3 + 2/3, 2/3 + 1/3, 1/3 + 1/3 + 1/3, 1/2 + 1/2, 1/4 + 1/4 + 1/2, fullwidth. Depending on the selected number of images, the title and content boxes below will vary.
- First Box: Bg Image: You can set a background image for the call to action section.
- First Box: Title: Call to action title that will be displayed on the front page.
- First Box: Subtitle / Description: Text related to call to action section. HTML formatting is accepted.
- Title & Subtitle Color: Color of a call to action heading and text.
- First Box: Text Position: Position of the text on the cover image.
- Call To Action Link Text: Text that will link to the desired URL.
- Link Text Color: Color of the text that is used for URL.
- First Box: Call To Action Link: Where previously entered text will lead.
Products Section Settings
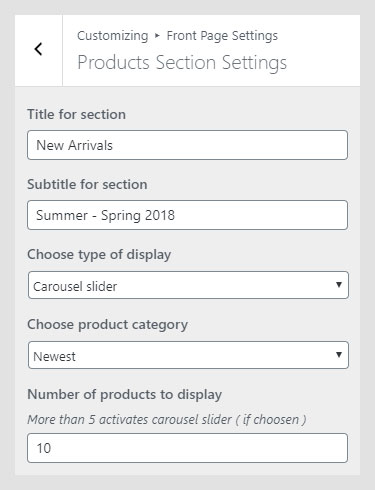
This panel is there to help you manage how products will be displayed on the Shop page.
- Title for section: Title for products section.
- Subtitle for the section: Subtitle for products section.
- Choose a type of display: How products will be displayed. In a Carousel or as a Product grid.
- Choose the product category: What product category will be displayed.
- The number of products to display: How many new products will be displayed.
Blog Section Settings
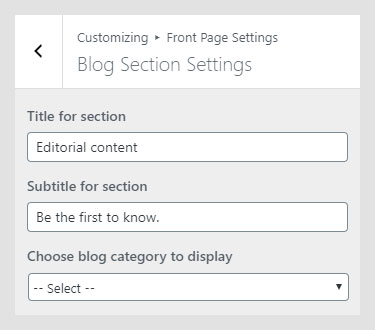
The blog section will display the latest posts from the desired category.
- Title for the section: Title that will be displayed before posts.
- Subtitle for the section: Subtitle for posts section.
- Choose the blog category to display: Posts can be pulled from the selected category or from all categories.
Front Page Sections Order
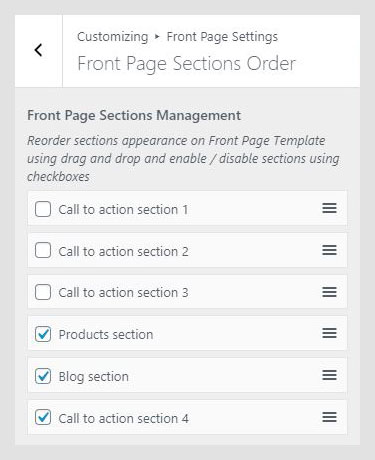
All sections (Call to action, Products, and Blog) can be enabled or disabled and changed their order using a simple drag&drop method. After changing the order and saving the new order, the homepage layout will be updated.
Font Settings
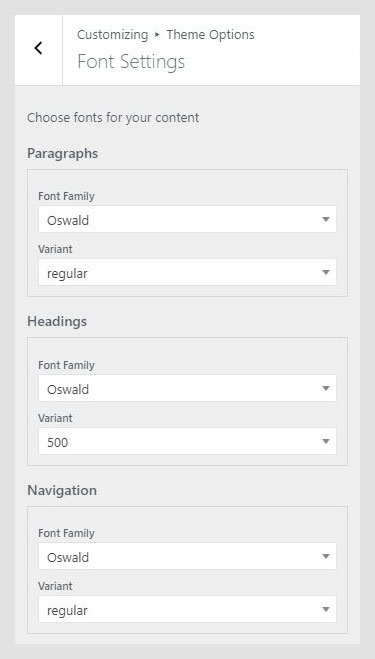
In the Font Settings panel, you can manage font families and font weights for paragraphs, headings, and navigation.
Andara WordPress theme documentation, step 5: WooCommerce
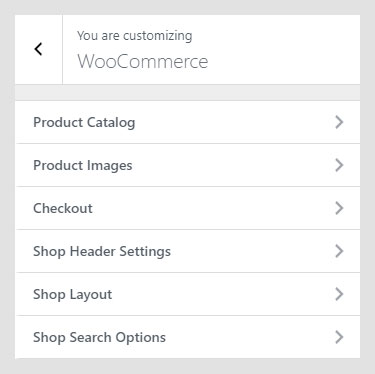
The WooCommerce panel offers settings for a Shop – layout, what products and categories will be displayed, and theme-specific image sizes for the shop.
- Product Catalog
- Product Images
- Product Checkout
- Shop Header Settings
- Shop Layout
- Shop Search Options
Product Catalog
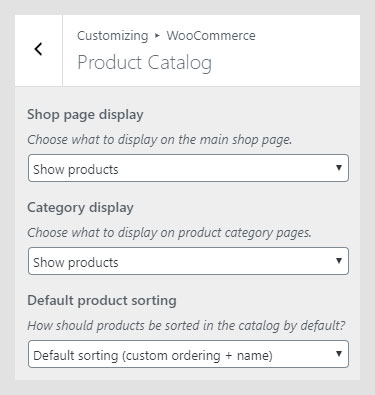
Product catalog defines how WooCommerce pages – main store page and product category pages – will display products, how many and in what layout.
- Shop page display: Choose what to display on the main Shop page – products, categories, or both.
- Category display: Choose what to display on product category pages – products, subcategories, or both.
- Default product sorting: Defines the parameter which will be used for the default product sorting.
Product Images
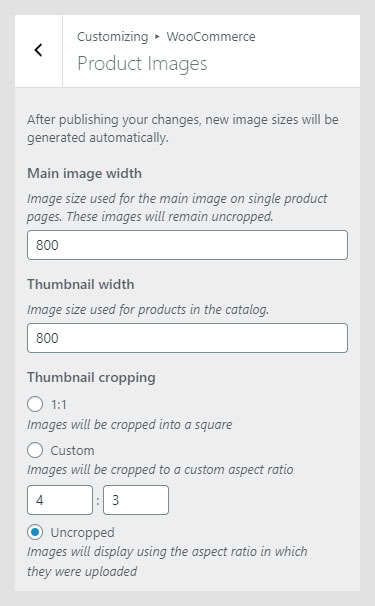
Settings related to image width on the Shop and single product page.
- Main image width: Main product image width, which will be used on a single product page.
- Thumbnail width: Width of the main product image on the Shop page.
- Thumbnail cropping: How a thumbnail will be cropped. There are three settings: 1:1 – an image will be cropped proportionally based on original dimensions; Custom – depending on the input value, cropping will use that proportion; Uncropped – an image will be scaled down.
Checkout
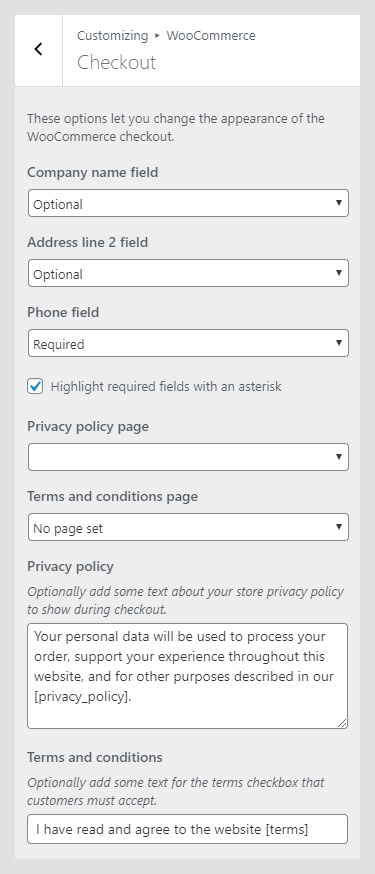
The checkout section of the Andara WordPress theme documentation contains settings related to the checkout page. Here, you can customize what optional fields are displayed and if they are required, and you can configure Privacy policy and Terms and conditions pages and notices.
Shop Header Settings
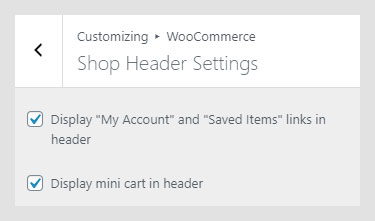
Shop Header Settings are used to enable or disable the header navigation cart and My Account option.
Shop Layout
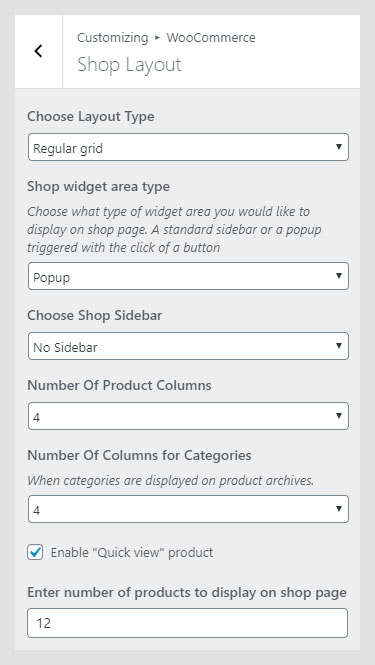
The Shop Layout panel of the Andara WordPress theme documentation contains options for how a shop and products on the Shop page will be displayed.
- Choose Layout Type: Products can be displayed in a regular grid or in masonry layout. In the Regular grid, images are the same size, while in the masonry, images are scaled proportionally.
- Shop widget area type: How sidebar with the widgets will be displayed – as a classic sidebar or as a pop-up.
- Choose Shop Sidebar: What sidebar area will be used for the Shop.
- The Number Of Product Columns: In how many columns products will be displayed.
- Number Of Columns for Categories: Number of columns on a product category page.
- Enable “Quick view” product: If enabled, products can be viewed in “Quick View” mode – as a modal window with basic information.
- Enter number of products to display on the Shop page: How many products will be displayed on the Shop page.
Shop Search Options
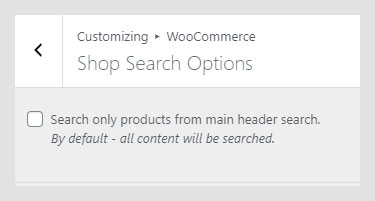
If you enable these options in the Andara WordPress theme documentation, the search will search only products. Otherwise, everything will be included in the search.
Andara WordPress theme documentation, step 6: Additional CSS
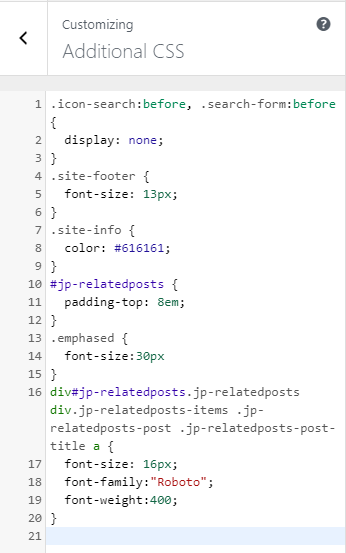
The Additional CSS section is used for the custom CSS classes, without interfering with theme original CSS files or creating a child theme. These classes are always loaded first, before other stylesheets. In the Useful CSS Classes section, you can find some most used classes.