Ruta is a go-to travel blog WordPress theme. Its design is built to encourage site visitors to follow your journey.
Learn how you can get the most out of the theme with the Ruta WordPress theme documentation.
Ruta WordPress theme documentation, step 1: Theme specification
- Recommended logo size: 220x50px.
- Featured image width: 1200px.
- Single post and page content width: 760px.
Ruta WordPress theme documentation, step 2: Theme installation
The theme can be installed through the WordPress Admin panel.
- Log in to the WordPress Admin panel.
- Go to Appearance -> Themes.
- Click on the Add New button, at the top of the screen.
- In Add Themes screen, click on the Upload Theme.
- Click on Choose theme, and then browse for theme file on your computer.
- Click on Install Now to start the install process.
- After the installation is done, click on Activate theme.
A detailed video for theme installation is available here: https://help.themeskingdom.com/how-to-install-and-setup-the-theme.
After activating the theme, you will be prompted to install the required plugins. Required plugins in the Ruta WordPress theme documentation are:
Ruta WordPress theme documentation, step 3: Theme demo
To set the theme as presented in our demo, you can import the demo file.
Ruta WordPress theme documentation, step 4: Theme setup
Ruta theme is set to display the latest posts on the homepage. To set your theme the same way we did in our demo, you’ll need to:
- First, you will need to create several post categories. Categories will be used to group posts, and in the theme, we will use them in the navigation and set Featured Category Slider.
- When you are done with categories, create several posts and associate them with different categories. Make sure to set the featured image for each post. Tag one post with the tag (e.g. “Featured”). We will use this tag to display posts in the featured content slider which is displayed on the top of the homepage.
- Now, we need to create pages where our content will be displayed – create pages About, Contact, and Work With Me. All pages are using the Default page template. Insert the contact form into the Contact page. The About page is built using author portrait image (image is round transparent .png file), quote block, and text.
- Ruta theme is using Your latest post reading settings, so you don’t need to change it.
- Go to Appearance -> Menus and create a new menu. Add Home as Custom Link to your homepage, all pages, and add categories as subitems for Categories item. Mark this menu as Primary.
- Create another menu – Social menu. Add links to your social profiles using Custom Link. When you are done, mark this menu as Social.
- Finally, we need to tweak a few things in the customizer. Go to Appearance -> Customize:
- Site Identity: Enter site title and set favicon.
- Content Options: Turn all options on.
- Featured content: Enter the tag that you have used for your posts (“Featured”). Please note that the post you wish to display in the slider must have set the featured image.
- Additional CSS: Add the following CSS classes to get the same look as in our demo:
.entry-title { font-weight: 200; } .nav-menu a { font-weight: 400; } body:not(.single) .entry-meta, .more-link { font-weight: 400; letter-spacing:2px; } .single .fullsize-featured .entry-header { max-width: 960px; } .site-title { font-weight: 200; } .entry-content .emphasis { line-height: 1.2em; } .single .fullsize-featured .entry-header { max-width: 1070px;} .fullsize-featured .entry-title { font-size: 70px; } blockquote, q { font-weight: 400; } - Theme Options -> Featured Category Slider: Enable the Featured Category Slider option and select the post category you wish to display in the category slider. Enter a title for the slider and number of posts that you wish to display. You can use HTML elements to create bold or italic text.
- Theme Options -> Header Settings: Enable sticky header and leave the logo to a default position.
- Theme Options -> Layout Settings: Enable Display the featured image in full-width in single posts, and set Magazine layout to Magazine style, with four columns.
Ruta WordPress theme documentation, step 5: The Customizer
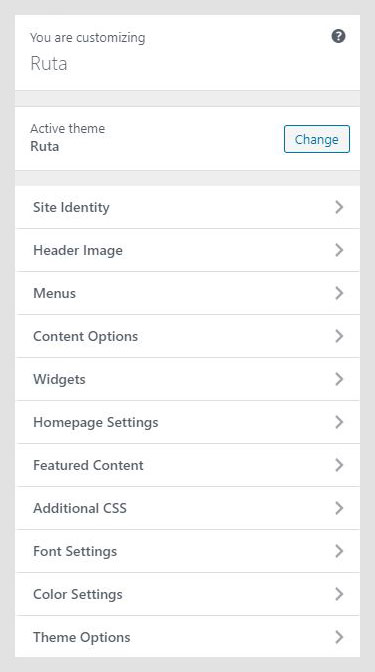
The Customizer is a great WordPress feature that allows you to customize the theme and set theme options. Theme specific settings:
- Site Identity
- Header Image
- Menus
- Content Options
- Widgets
- Homepage Settings
- Featured Content
- Additional CSS
- Related Posts
- Font Settings
- Color Settings
- Theme Options
Site Identity
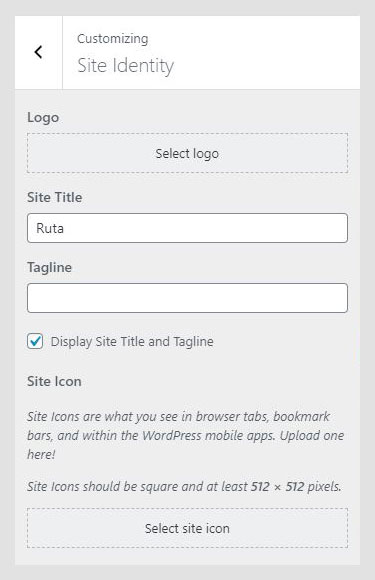
Site Identity in the Ruta WordPress theme documentation allows you to set your site title, tagline, and icon. The Site Title is the name of your site and it’s displayed in the header, where the logo is displayed. The Tagline is a short description or your motto, and it’s displayed just under the title. This setting is the same as in Settings -> General in the WordPress admin panel.
- Logo: Upload logo for your site. The logo should be in a PNG or JPEG/JPG format.
- Site title: Name of your site.
- Tagline: Site punchline.
- Display Site Title and Tagline: If enabled, both Site Title and Tagline will be displayed. The Tagline will be displayed under the Title.
- Site Icon: The Site Icon is used as a browser and app icon for your site. Icons must be square, and at least 512px wide and tall.
Header Image
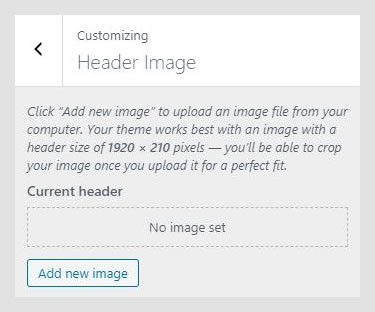
The Header image is used as a background image for the header section when the logo is set to display in the center. The centered logo can be set in the Header Settings.
Menus
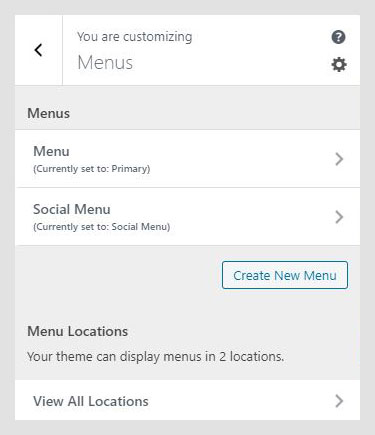
This option allows you to manage created menus quickly. You can select which created menu will be displayed as Primary Menu or Footer Menu. If you need to manage actual menu items, you can do that by going to Appearance -> Menu.
Content Options
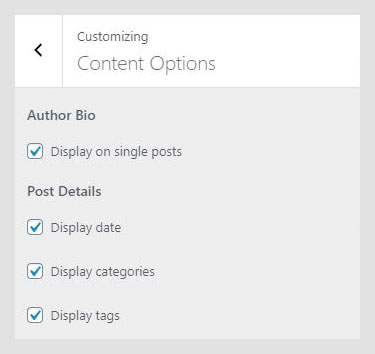
Content Options panel in the Ruta WordPress theme documentation contains settings for the metadata for single posts – both regular and portfolio.
- Author Bio: If enabled, the author bio box will be displayed on the single post page.
- Display date: If enabled, the publishing date will be displayed on a single and posts page.
- Display categories: If enabled, post categories will be displayed on a single and posts page.
- Display tags: If enabled, post tags will be displayed on a single and posts page.
Widgets
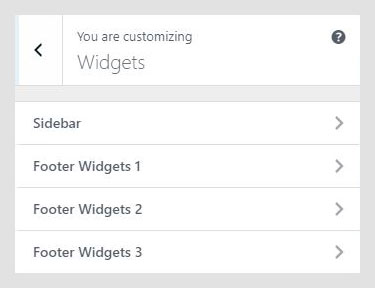
The Widgets section allows you to manage widgets in widget areas quickly. This option allows you the same possibility as the Widgets option in the WordPress admin panel.
Homepage Settings
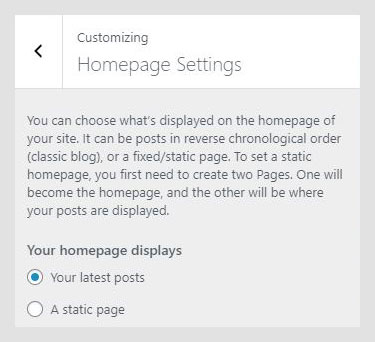
This option works the same way as Settings -> Reading. It allows you to set them to read the latest post or to use static pages for landing and blog pages.
Featured Content
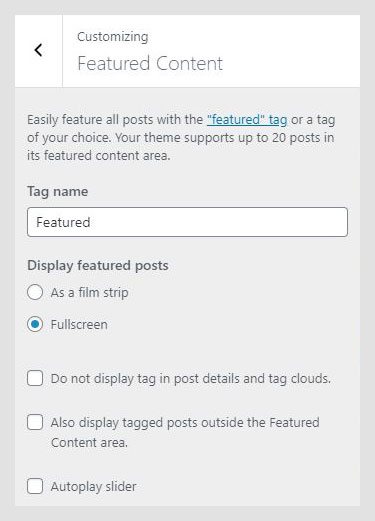
Featured Content in the Ruta WordPress theme documentation is content that is displayed in the slider on the homepage. The slider is used to promote articles.
- Tag name: Enter tag that is used to mark posts that need to appear in the slider.
- Display featured posts: A slider can be displayed as film strip – 3 smaller images per screen or as a full-page slider.
- Do not display tag in post details and tag clouds: If the option is enabled, the tag that is used for the slider will not be displayed in the metadata or tag cloud.
- Also, display tagged posts outside the Featured Content area: If enabled, posts from the featured content will be displayed in archives, and posts page. Otherwise, they will not be displayed.
Setting up the Featured content slider
The Featured content slider is displayed on the homepage, and setting up the slider is quite simple.
- Make sure that your theme reading settings are set to Your latest post.
- Create several posts and set the featured image.
- Tag the desired posts with the same tag – e.g. “Featured”.
- Go to Appearance -> Customize and in Featured Content panel enter the tag that you have used for your posts.
Ruta WordPress theme documentation, step 6: Additional CSS
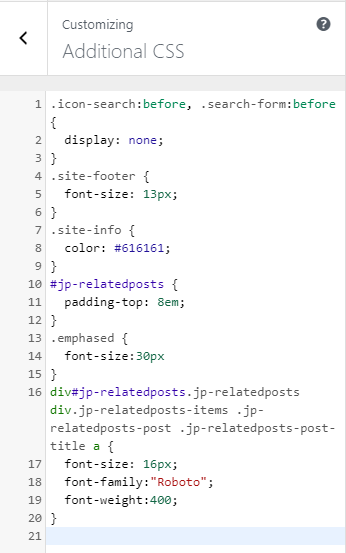
In the Additional CSS section, you can enter your custom CSS classes, so you don’t need to mess with original styles, or create a child theme. Of course, you should create a child theme if you plan to modify other files.
Font Settings
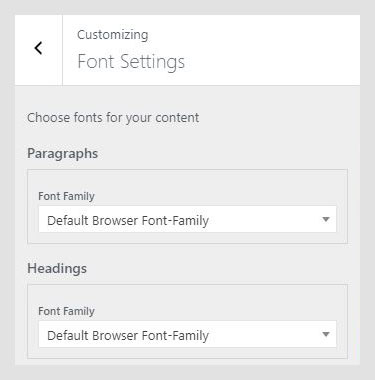
Font Settings in the Ruta WordPress theme documentation allow you to set the font-family and font-weight for headings and paragraphs.
Color Settings
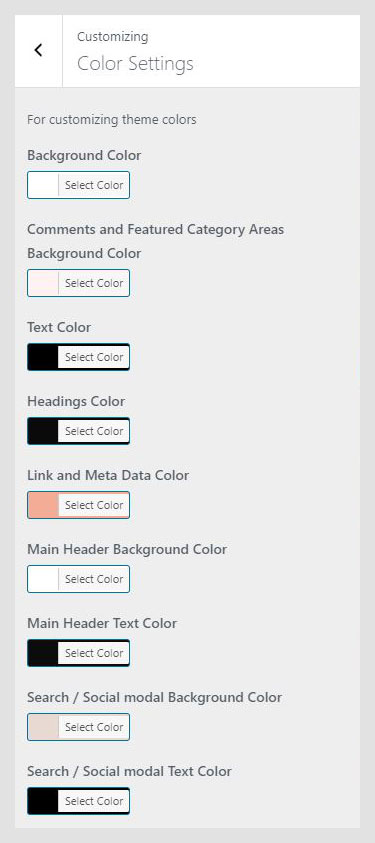
Colors panel allows you to set a color for different elements of the theme.
- Background color: General background for the theme.
- Comment Area Background Color: Background color for the comments area.
- Text color: Basic text (paragraphs) color.
- Headings Color: Headings – including theme default, and created in the editor color.
- Link and Meta Data: Color of links and categories, tags and date.
- Main Header Background Color: Header background color.
- Main Header Text Color: Color of navigation and other text in the header.
- Search / Social modal Background Color: Color of Search and Social menu.
- Search / Social modal Text Color: Text color inside Search and Social menu.
Theme Options
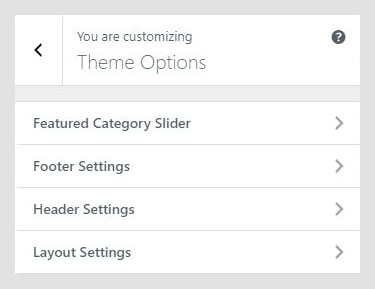
Theme Options panel contains theme-specific settings. In here, you can customize theme appearance – featured slider, Instagram feed, footer and header settings, and to change layout appearance.
- Featured Category Slider
- Footer Settings
- Header Settings
- Layout Settings
Featured Category Slider
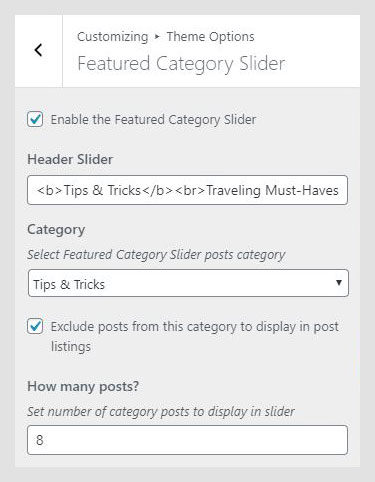
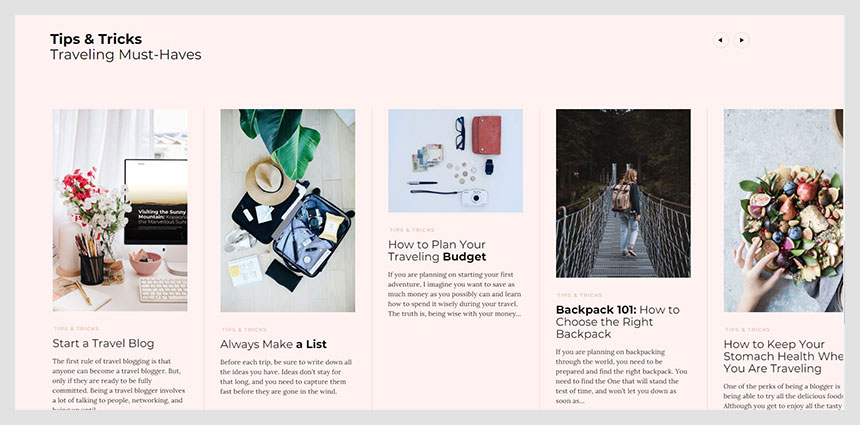
Featured Category Slider is displayed on the homepage, under the posts. This slider will display posts from the selected category.
- Check to enable Featured Category Slider: If checked, Featured Category Slider will appear on the homepage.
- Add Heading to slider: Heading will be displayed above the slider.
- Select Category: Post category which will be used to display posts.
- Exclude posts from this category to display in post listings: If enabled, posts will be displayed only in the slider. Otherwise, they will appear on the archive page, as well as on post listing.
- Set Category Posts Number: How many posts will be displayed.
Footer Settings
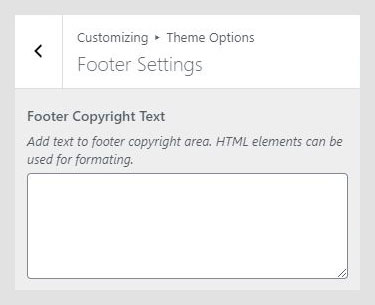
The Footer Settings field allows entering custom footer copyright information. If blank, default Themes Kingdom copyright will be displayed. You can use HTML to style footer content.
Header Settings
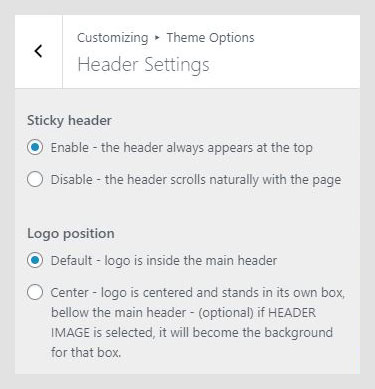
Header Settings in the Ruta WordPress theme documentation contain options for sticky header and logo position.
- Sticky header: If enabled, the header will always be visible on the top of the screen. Otherwise, it will scroll with the page.
- Logo position: When centered, navigation will be displayed at the top, and logo under it, at the center of the page. The logo will use the custom background from Header Image.
Layout Settings
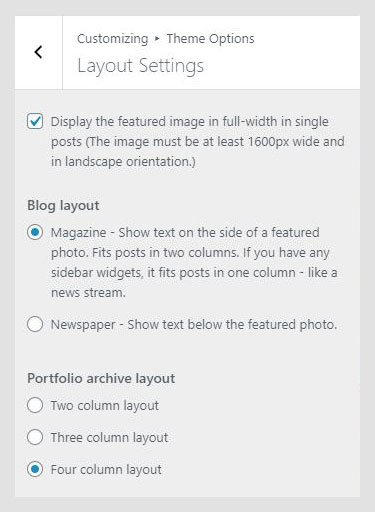
- Display featured image in full width: If enabled, Featured image larger than 1600px in portrait orientation will be displayed in full width, across the screen.
- Blog layout: Defines how posts will appear. Magazine style images will be displayed on the side with text, in two columns. If the sidebar is displayed, posts will be displayed in one column. A Newspaper style will display featured images at the top, with text under them.
- Portfolio archive layout: Portfolios can be displayed in two, three or four columns.
Ruta WordPress theme documentation, step 7: Theme specific features
Featured Image size and orientation
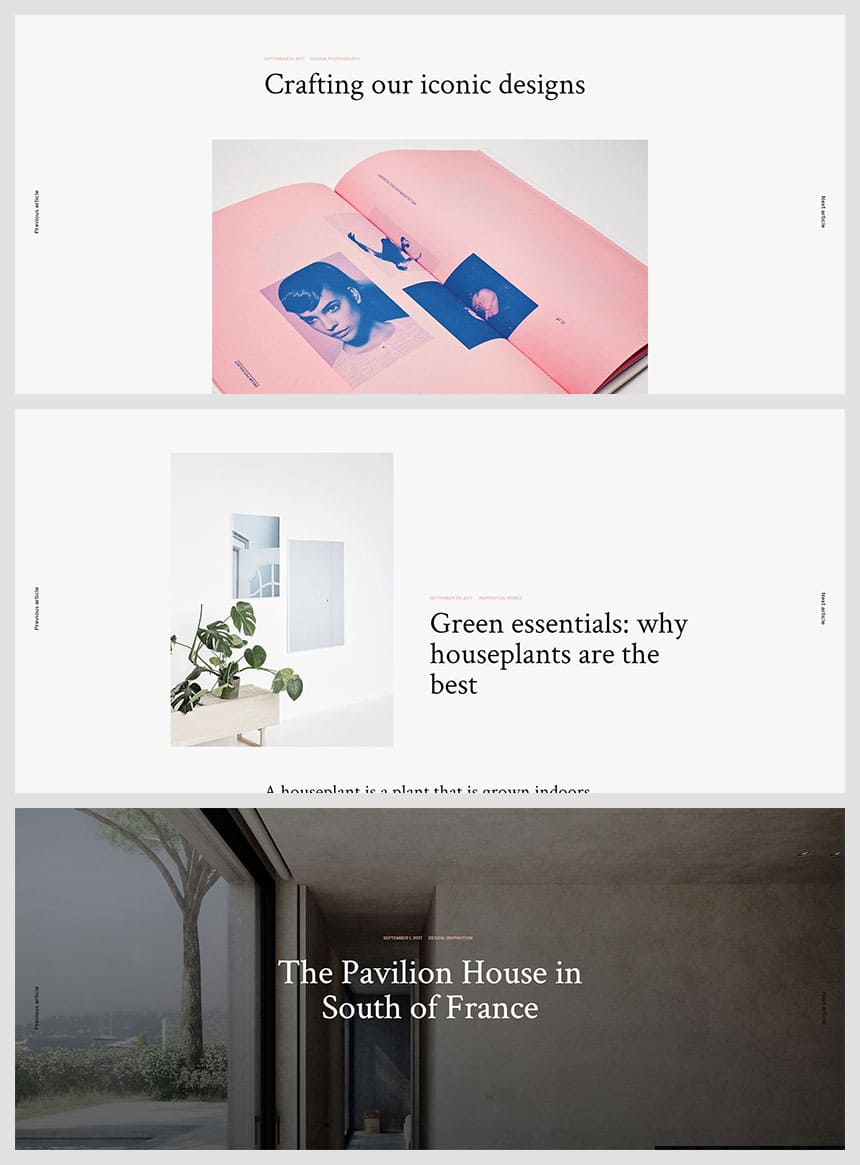
Theme detects image orientation, and depending on the image – landscape or portrait, layout of the single post page will vary.
- Landscape: Landscape image will be displayed at the top of the single post page, with post title under it.
- Portrait: Portrait image and post title will be displayed side by side. Please note that portrait images should note be huge and that you should keep their width under 800px.
- Full-width landscape image: the Featured image will be displayed at the top of the single post page but in full width. This will only apply for images with larger than 1600px and if Full width image is enabled in Layout Settings.
Full width image in the content
Inserting a full-width image in the content is an awesome way to break text and add an outstanding image. To create full width image in the content, simply insert image as media file into the content and add it class tk-fullsize-img. To add class to the image, switch editor to text mode and add code like this to image class=”tk-fullsize-img”. For example, a full code for the image will be like this:

Ruta WordPress theme documentation, step 8: Useful CSS classes
Increase logo size
.site-branding {
width: 220px;
}
Remove overlay from featured content slider
.slider-entry-content-wrap {
background-color: transparent;
}
Customize navigation font
.nav-menu > li > a {
font-size: 14px;
font-weight: 700;
}
Customize single post title
.single .entry-title {
font-size: 42px;
font-weight: 700;
}
